Creating a New Case
Last updated: September 24, 2026
Step-by-step walkthrough for setting up a new case from scratch.
Creating a New Case in Wisedocs
Cases are your central workspace for everything related to a claim in Wisedocs. Follow these steps to create a new case quickly and start organizing your documents with ease.
Step 1: Click New Case at the top right of the screen.
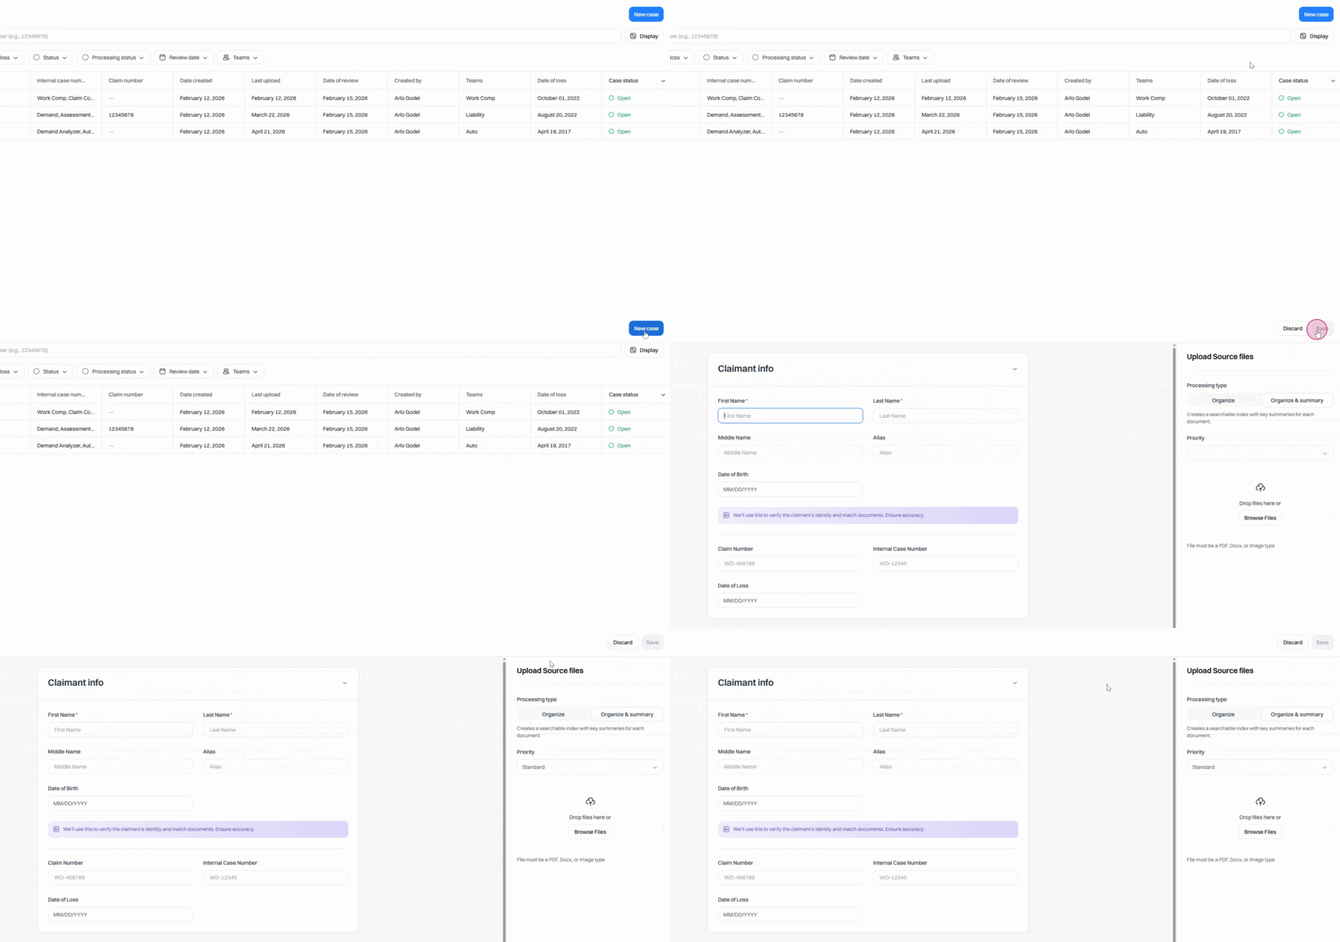
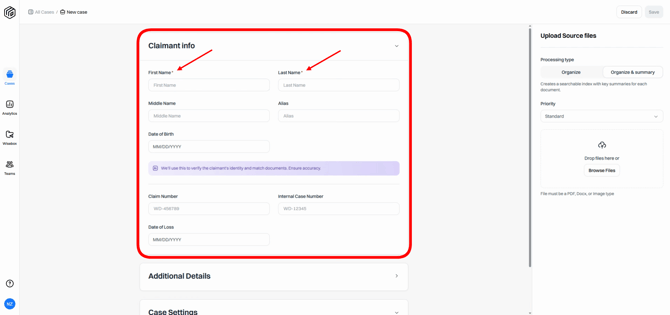
Step 2: Fill out the required fields in the case form. Fields marked with a red asterisk are mandatory.
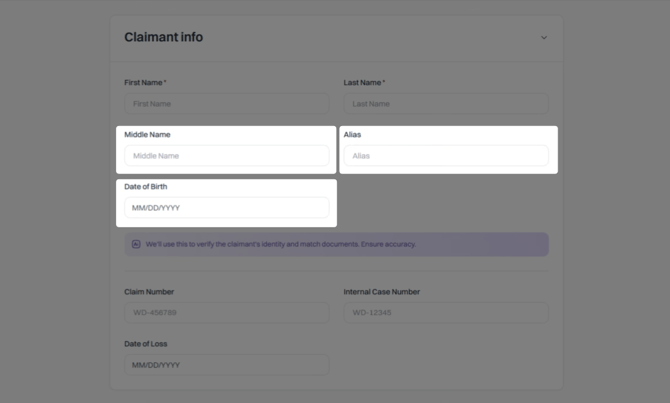
Please note that fields such as Middle Name, Alias, and Date of Birth, are essential to ensure that the Wrong Claimant feature functions correctly if it is enabled on your account.
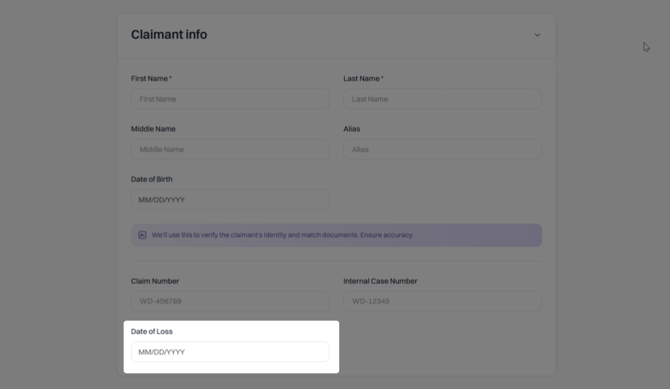
The Date of Loss is also an important field to fill out, especially if your account configuration relies on this data.
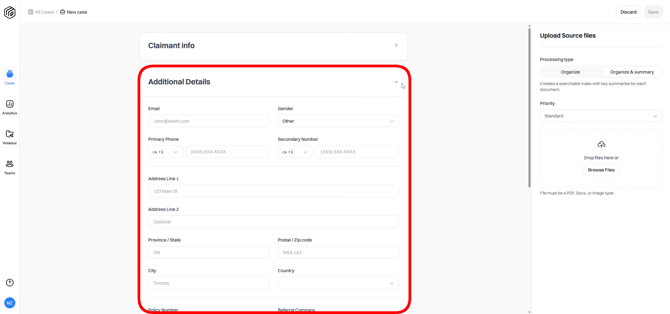
Step 3: Add any additional details as needed to provide more context.
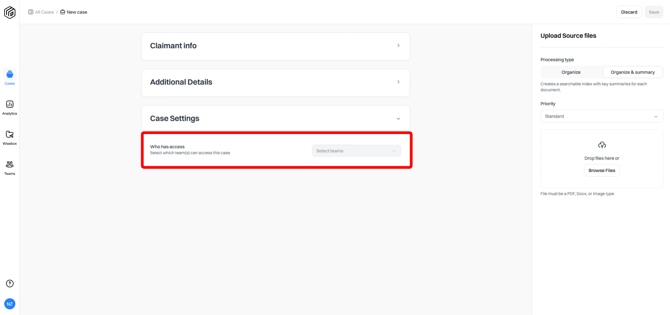
Step 4: If your account has Teams active, and if you belong to multiple teams, then you will be prompted to choose the teams that can access the case.
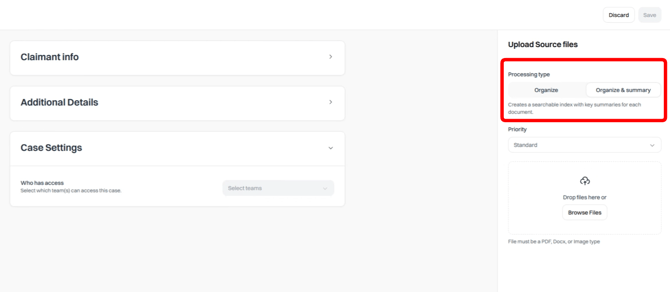
Step 5: Depending on your account setup and the features that you have access to, you may be able to select your processing type on the right side of the page — whether that's Organize or Organize and Summary. Otherwise the system will automatically default to the processing type that you're setup with.
Step 6: Set the priority — Low, Standard, or Rush.
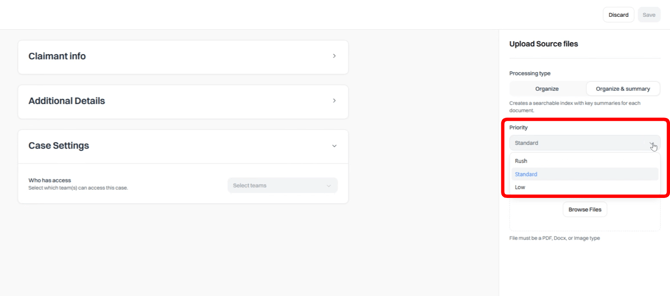
Processing times for priority selections vary based on the total number of pages in the uploaded files. Therefore, in some cases, the system may automatically adjust your selected priority if the upload exceeds the page limit for that priority level.
For example, if the Rush priority level is set for uploads containing fewer than 500 total pages, and you then upload files with a combined page count of 700 pages and select Rush, the system will automatically change the priority level to Standard to accommodate the larger workload.
Please Note: Currently, page count calculations are based only on PDF files included in the upload. Other file types are not included when determining priority eligibility.
Step 7: Add your files. Drag and drop them into the Upload section, or select Browse Files to navigate your folders. You can add multiple files at once.
Acceptable file types include PDFs, Word documents, PNGs, JPEGs, and TIFF files. Folders and zip files cannot be uploaded.
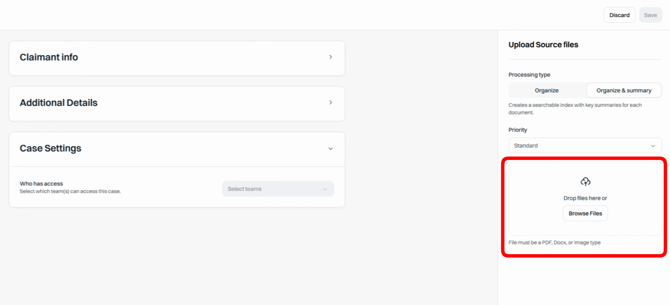
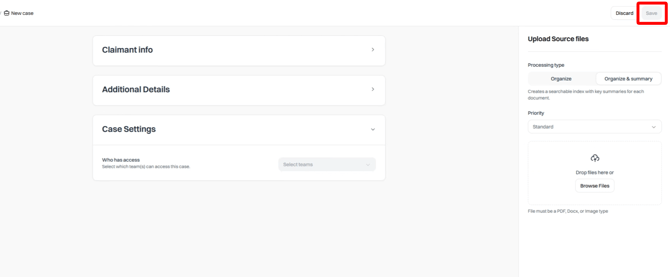
Step 8: Click Save at the top right when you're ready to create the case. Your documents will then begin processing.
Step 9: If you need to abandon the case creation at any time, click Discard next to the Save button to return to the All Cases view.
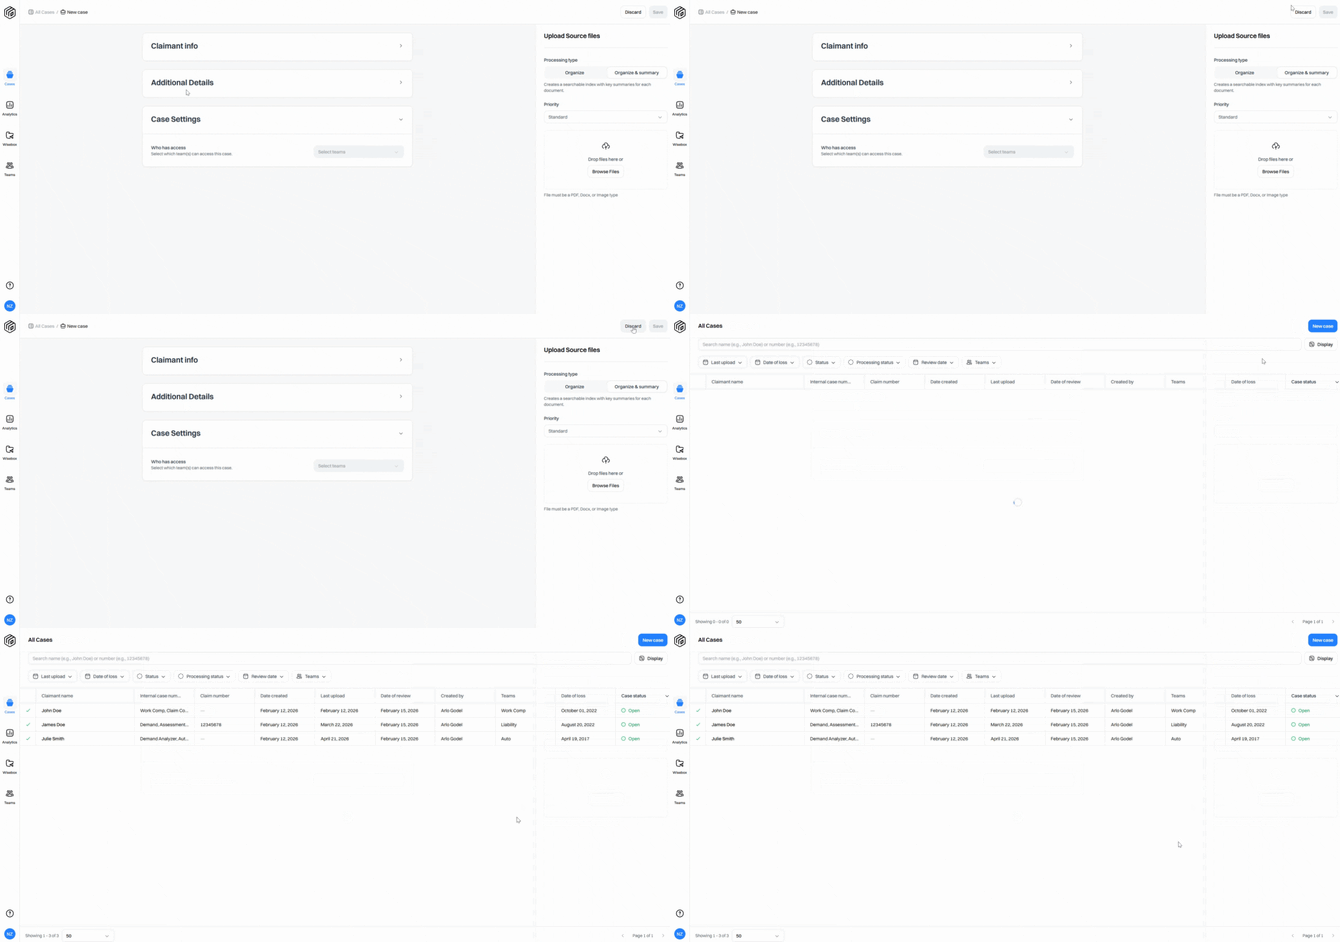
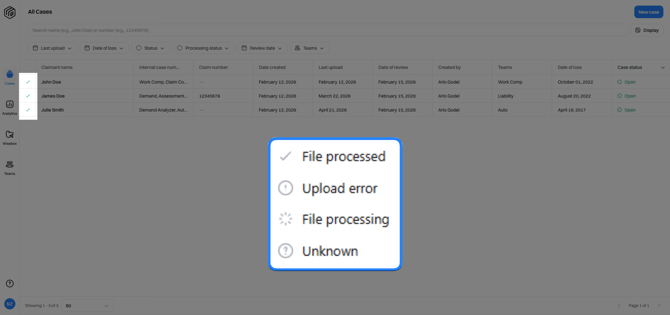
On the All Cases view, you can track the status of all your cases — including statuses like File Processed, Upload Error, File Processing, or Unknown.
If you have questions about processing status, reach out to the Wisedocs Support Team at help@wisedocs.com.
Creating a case is quick and straightforward, so you can focus on what matters most.