
Quickly Navigate Cases in Wisedocs with Search, Filter and Display Options
When you’re managing a growing list of cases in Wisedocs, getting to the right case fast keeps your day running smoothly. Here’s how to search, filter, and customize your All Cases dashboard for maximum efficiency.
Step 1: After logging in, you’ll land on the All Cases page—your central dashboard for viewing and managing all cases.
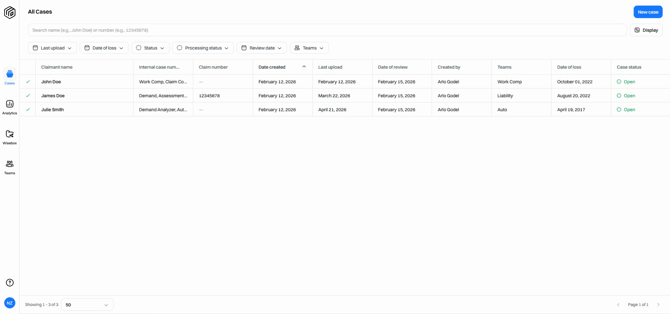
Step 2: Look to the top right for display options. Click Display to open customization settings. 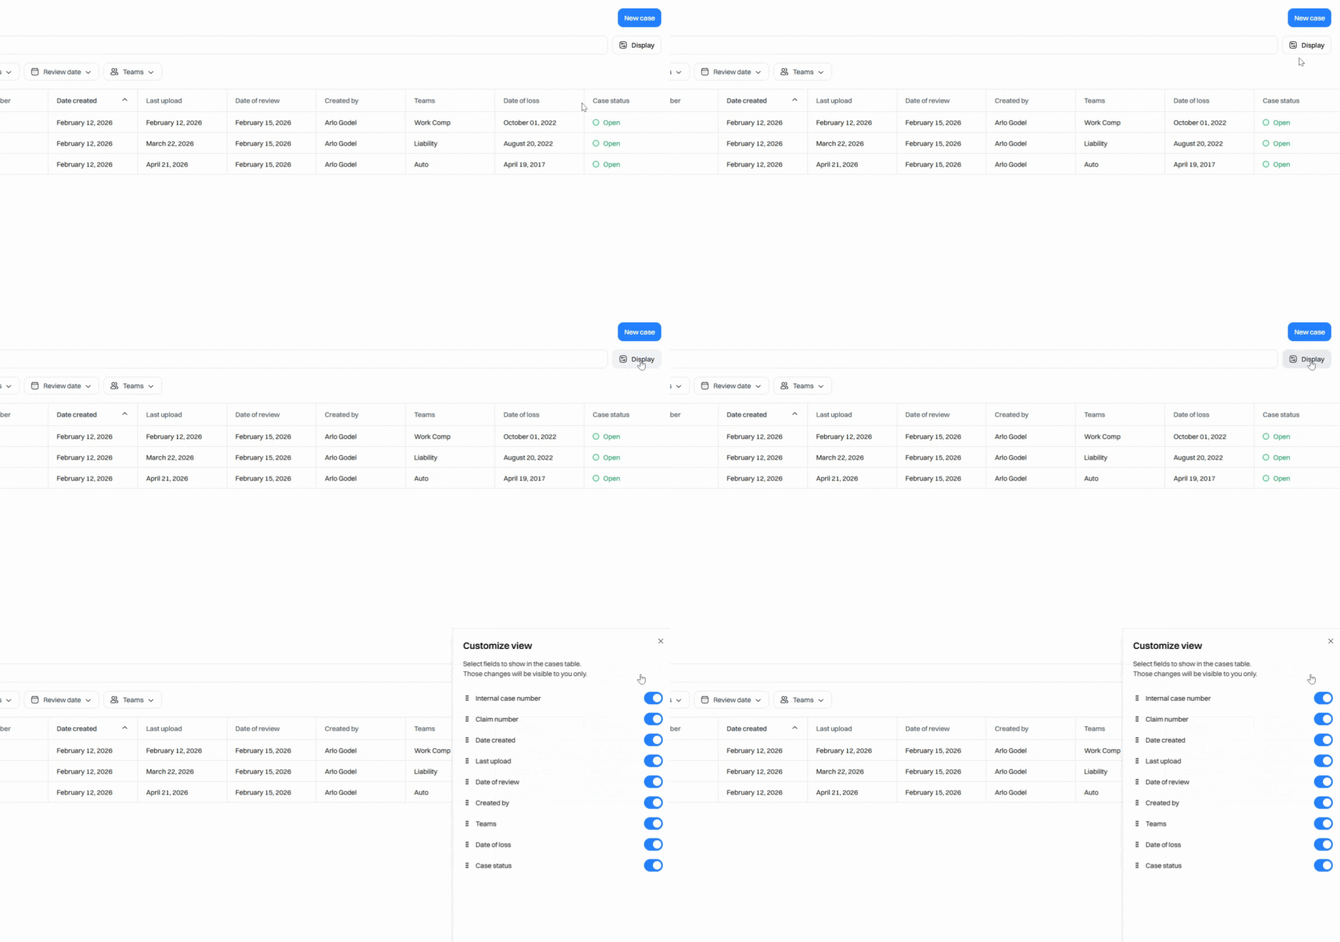
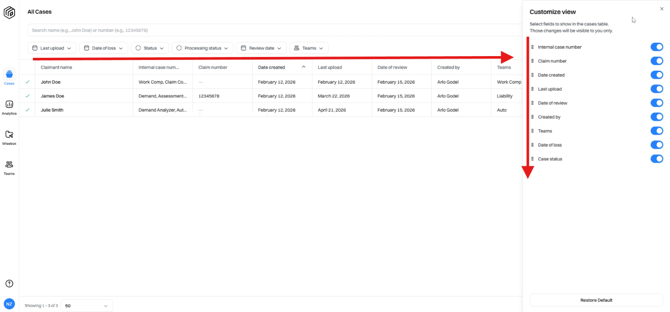
Step 3: Toggle columns on or off to control which fields appear in your case index table. For example, switch off Claim Number if you no longer want that visible in your index table. 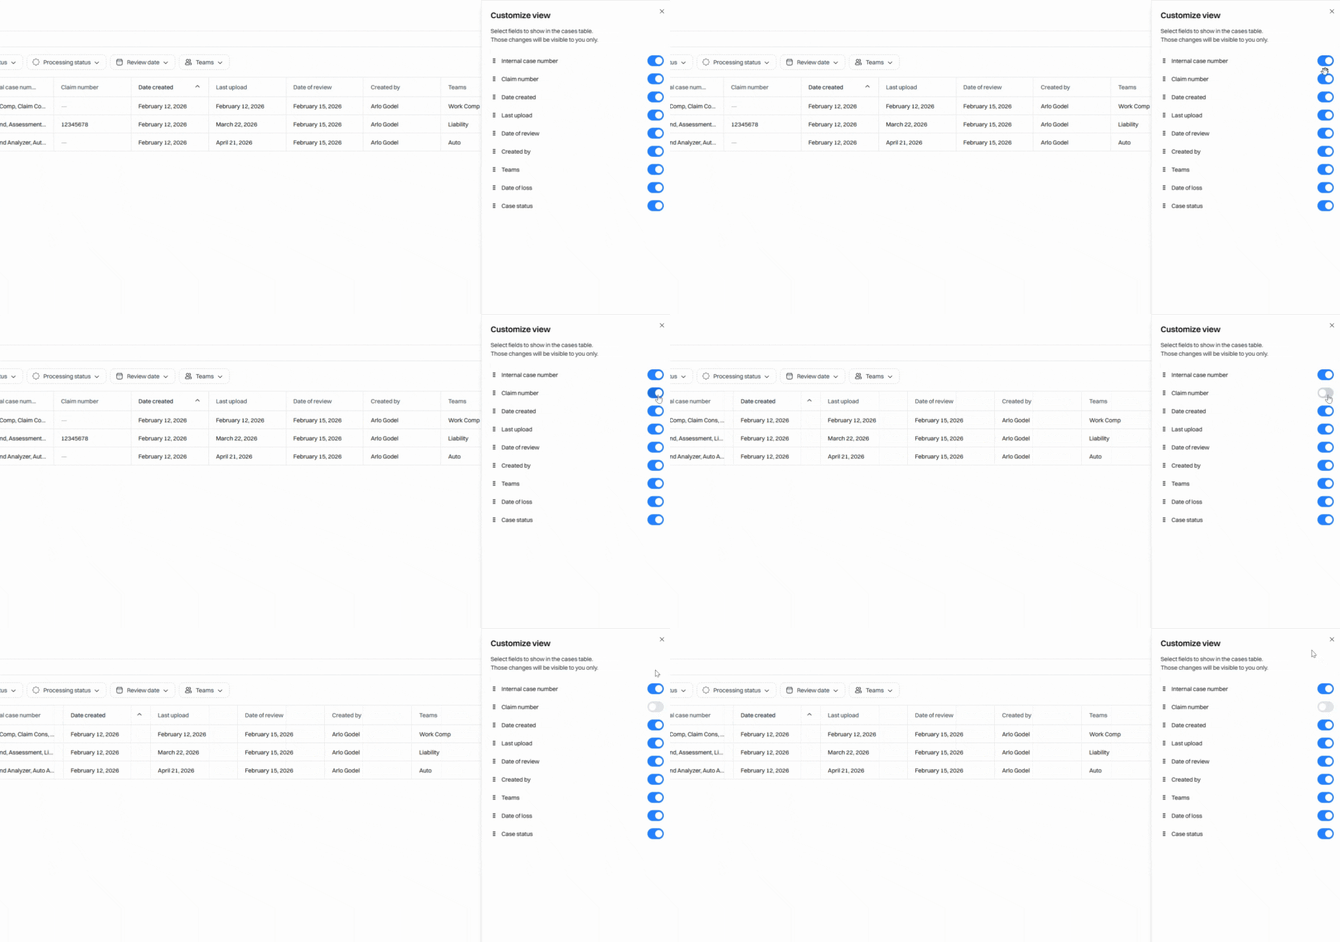
Step 4: Toggle any column back on when you want it to reappear. Changes in display customizations are unique to your view and don’t affect other team members. 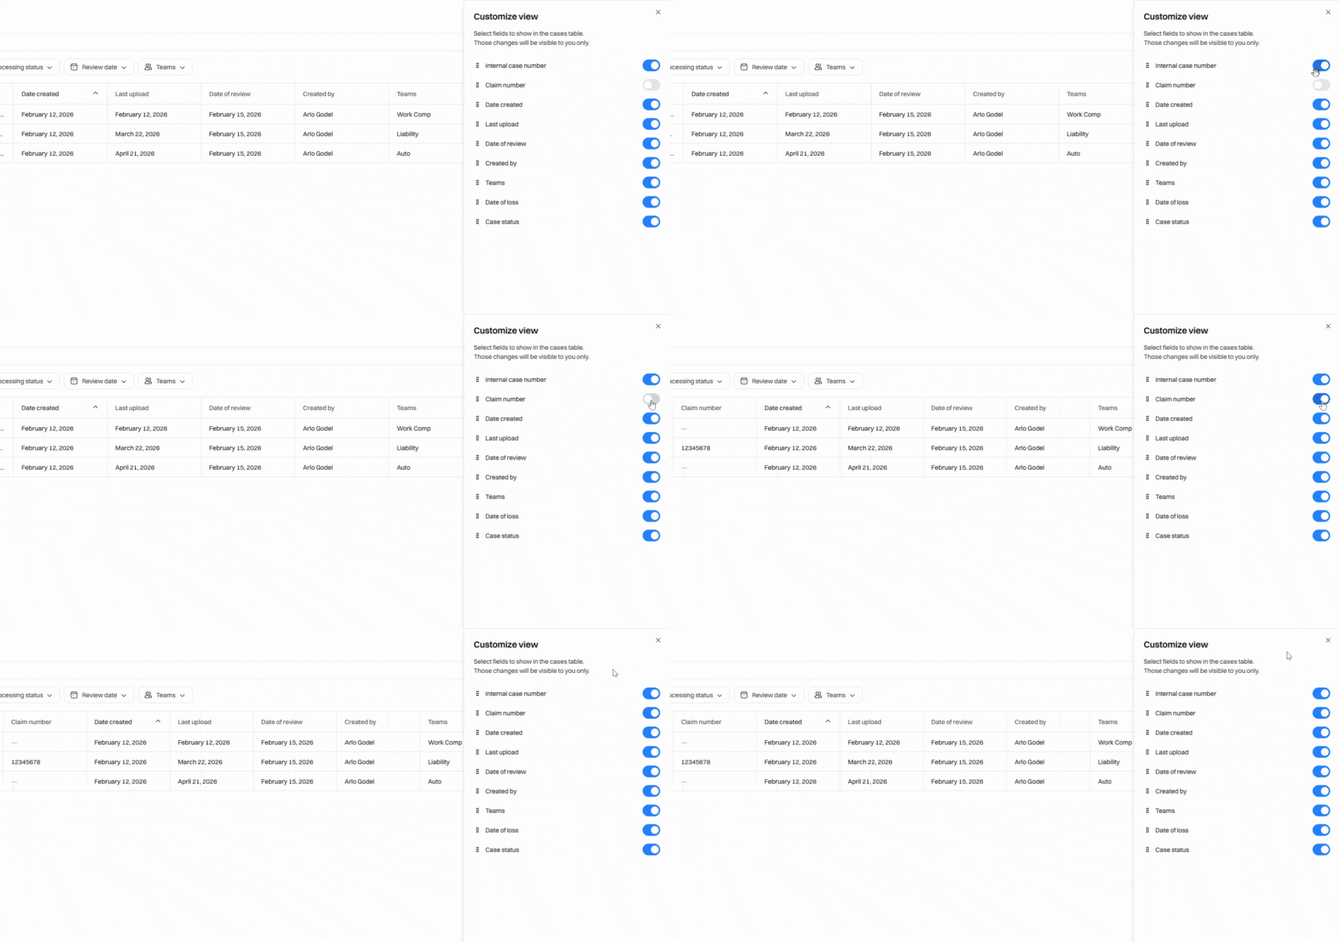
Step 5: Drag and drop columns using the dotted icon next to each column name to reorder them. The top-to-bottom order of the columns here will be displayed left-to-right in your index table.
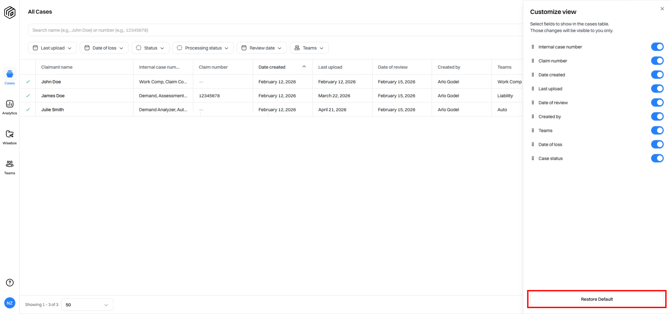
Step 6: Restore the default display settings any time by clicking Restore Default.
Step 7: Use the Search bar to quickly find a case using keywords. As you enter text, matching cases appear and highlights show precisely where the match occurs. 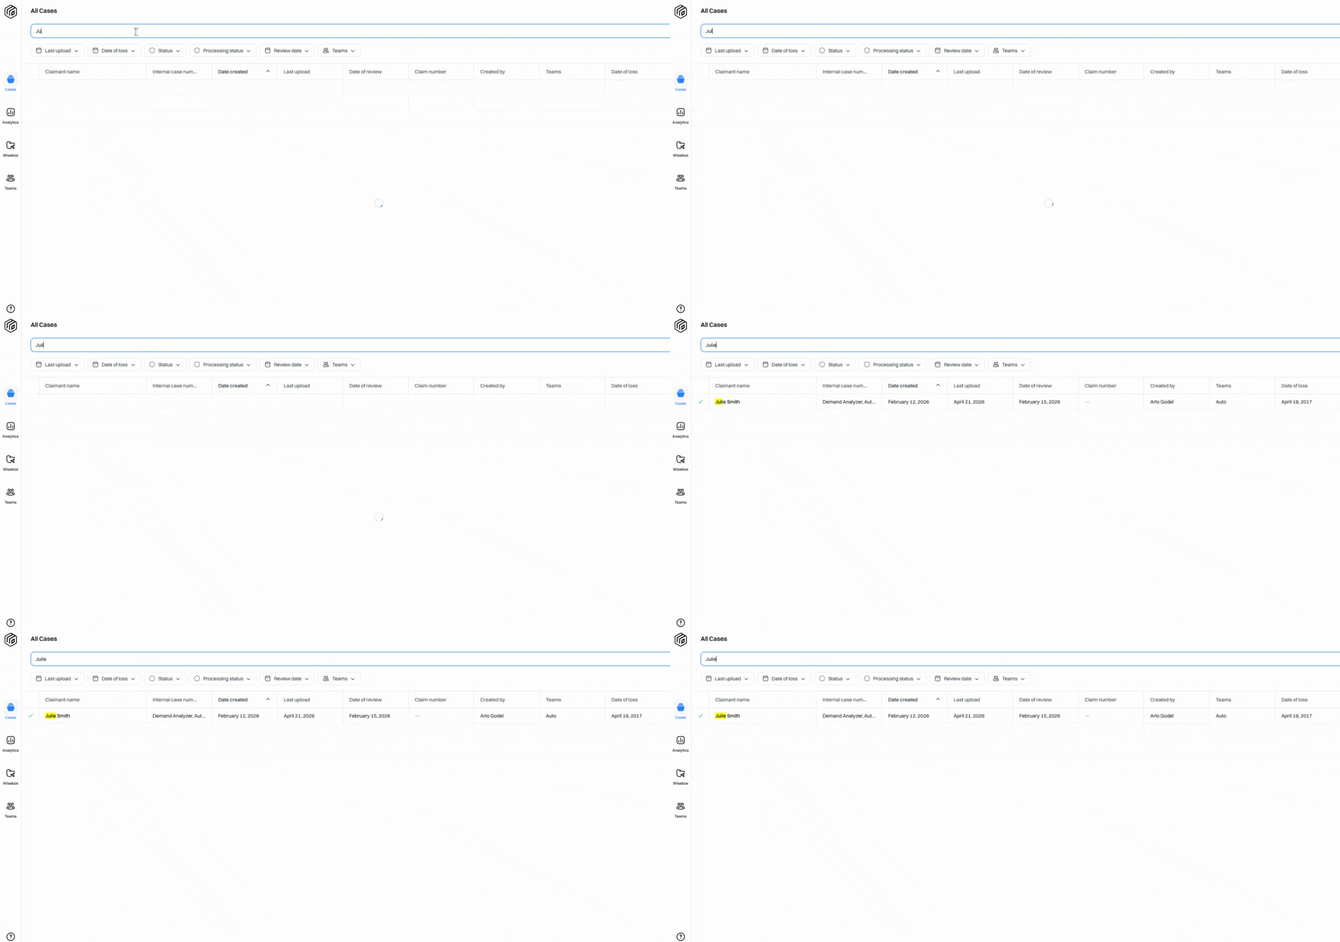
Step 8: Filter your case list to focus on details like last upload date or status. Stack multiple filters to narrow results even further. 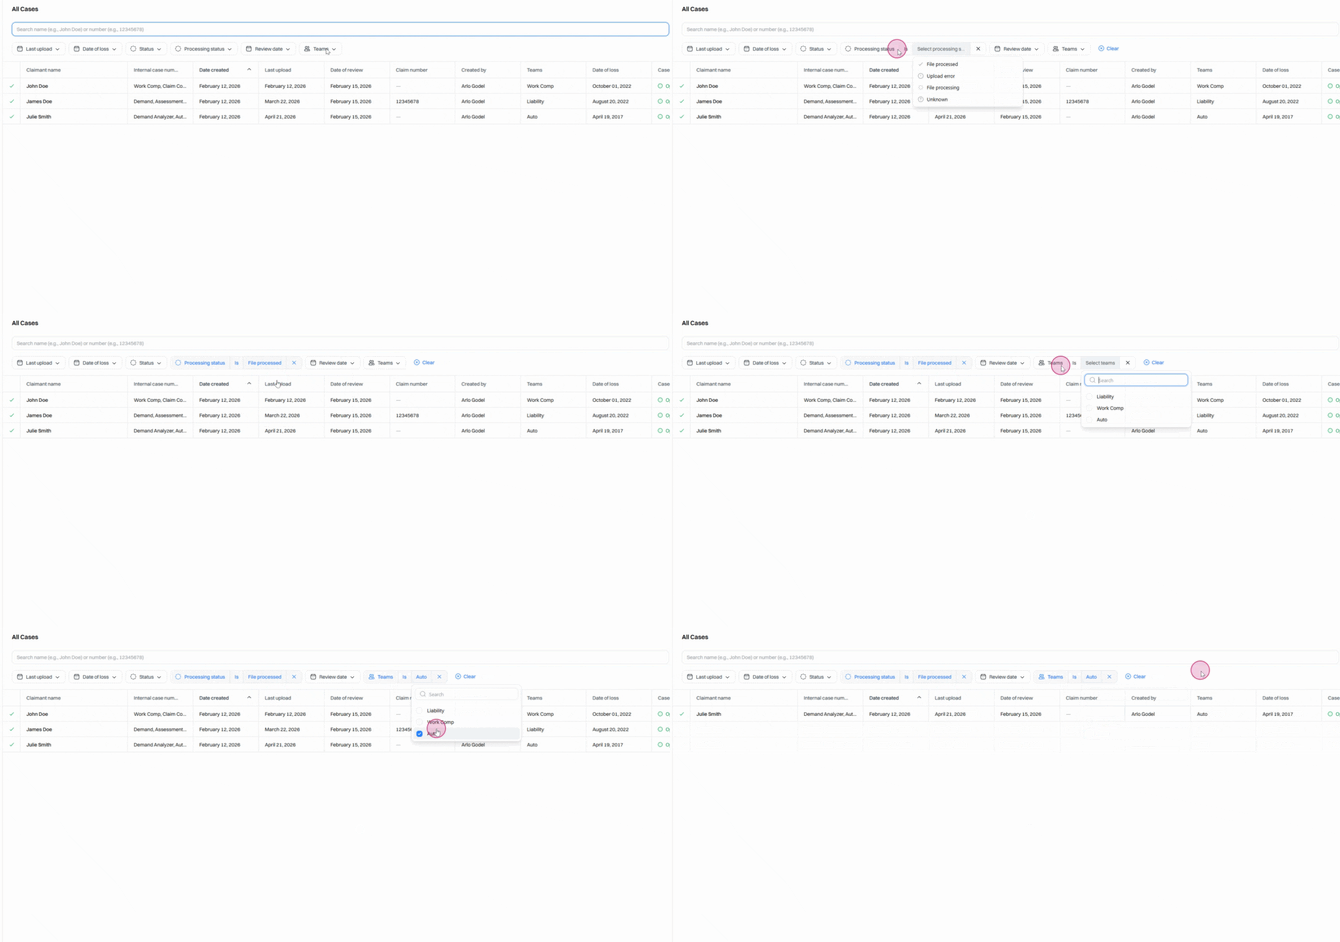
Step 9: Remove all filters by clicking Clear. 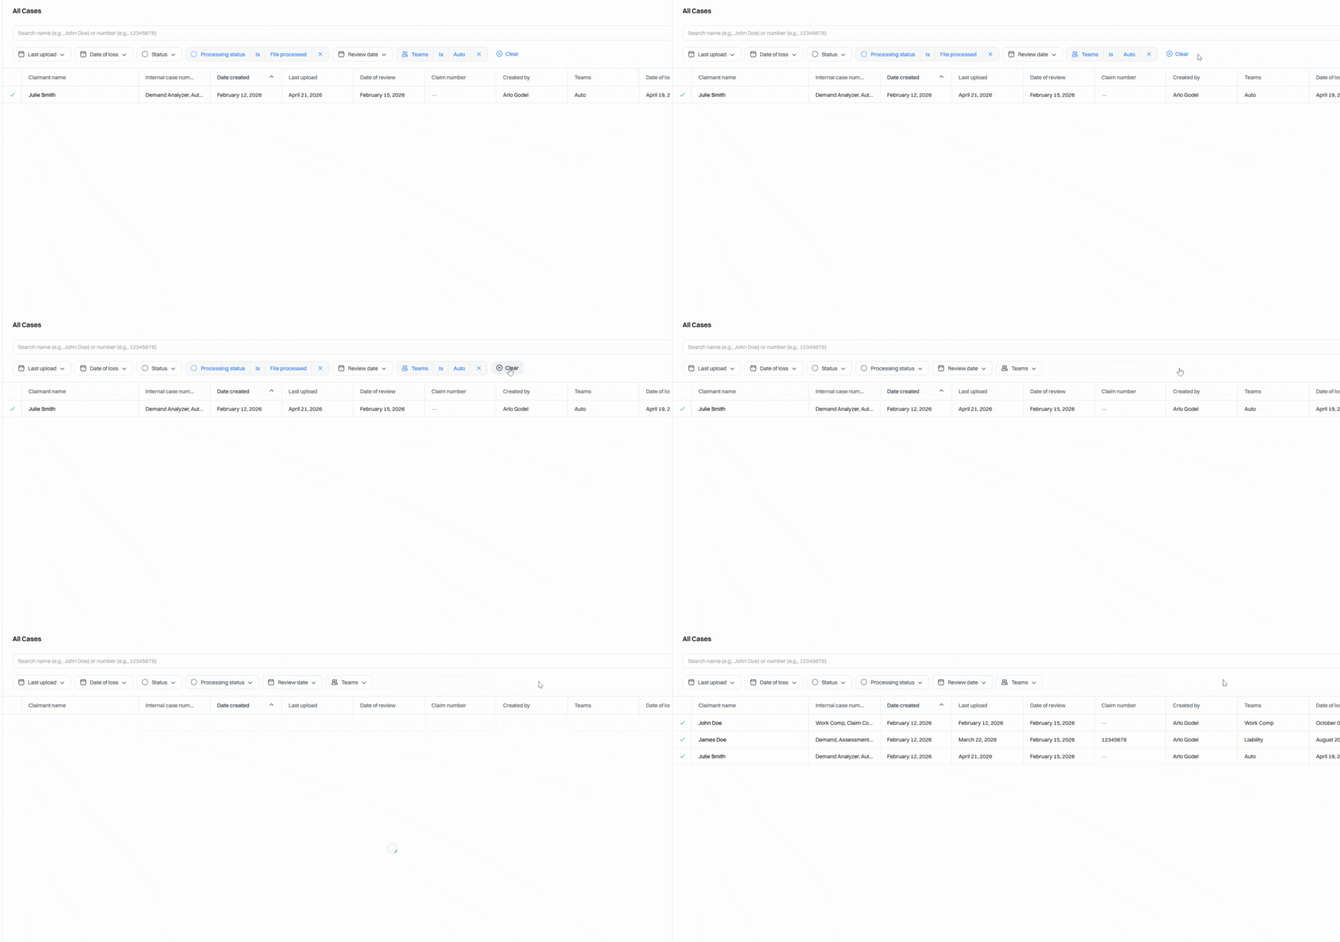
Step 10: Sort your list by any column—just click the column header, such as Last Upload.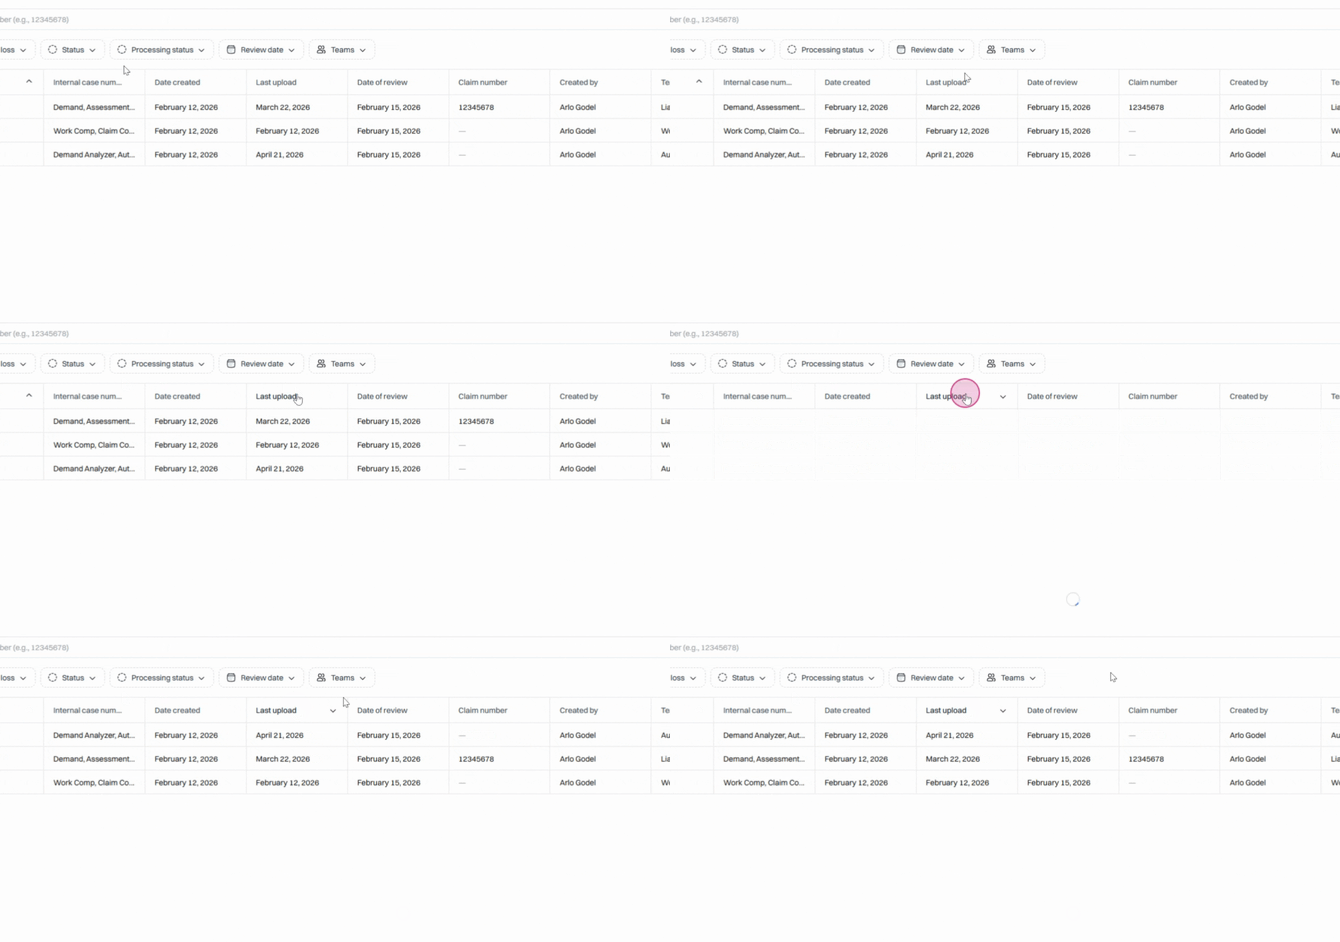
With these search, filter, and display tools, navigating large case lists in Wisedocs feels effortless. Customize your dashboard to fit your workflow—so you can spend less time searching for information and more time getting meaningful work done.