
Wisedocs Platform Overview: Streamline Your Medical Record Review
Medical record review is one of the most time-intensive parts of any claims or legal process. With Wisedocs, you turn thousands of unorganized pages into quickly accessible, actionable information. Here’s how to get started and make the most of Wisedocs.
Step 1: Once you log into your Wisedocs account, you’ll land on the All Cases page, which displays every case in your account.
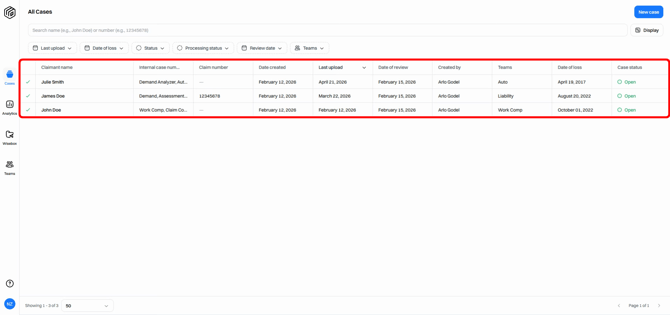
Step 2: Use filters, display customization options, and the central search bar to find cases fast.
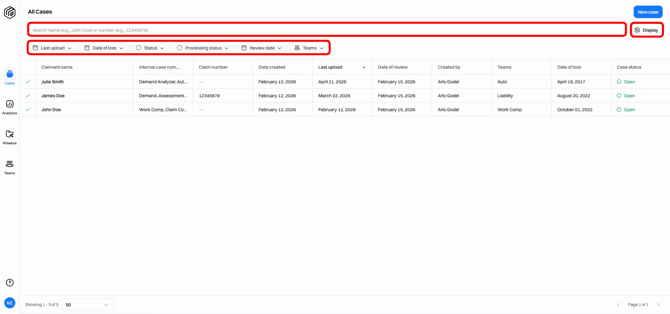
Step 3: To create a new case, select the New Case button.
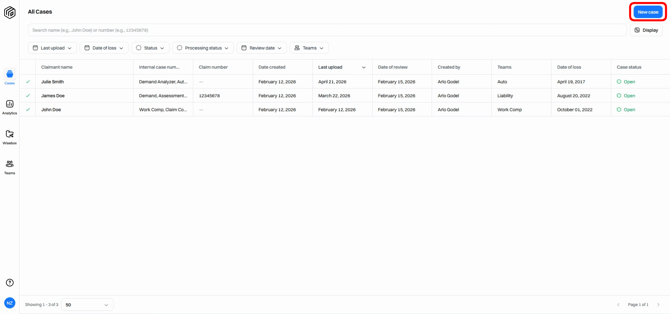
Step 4: Click into the Claimant Name to access a case.
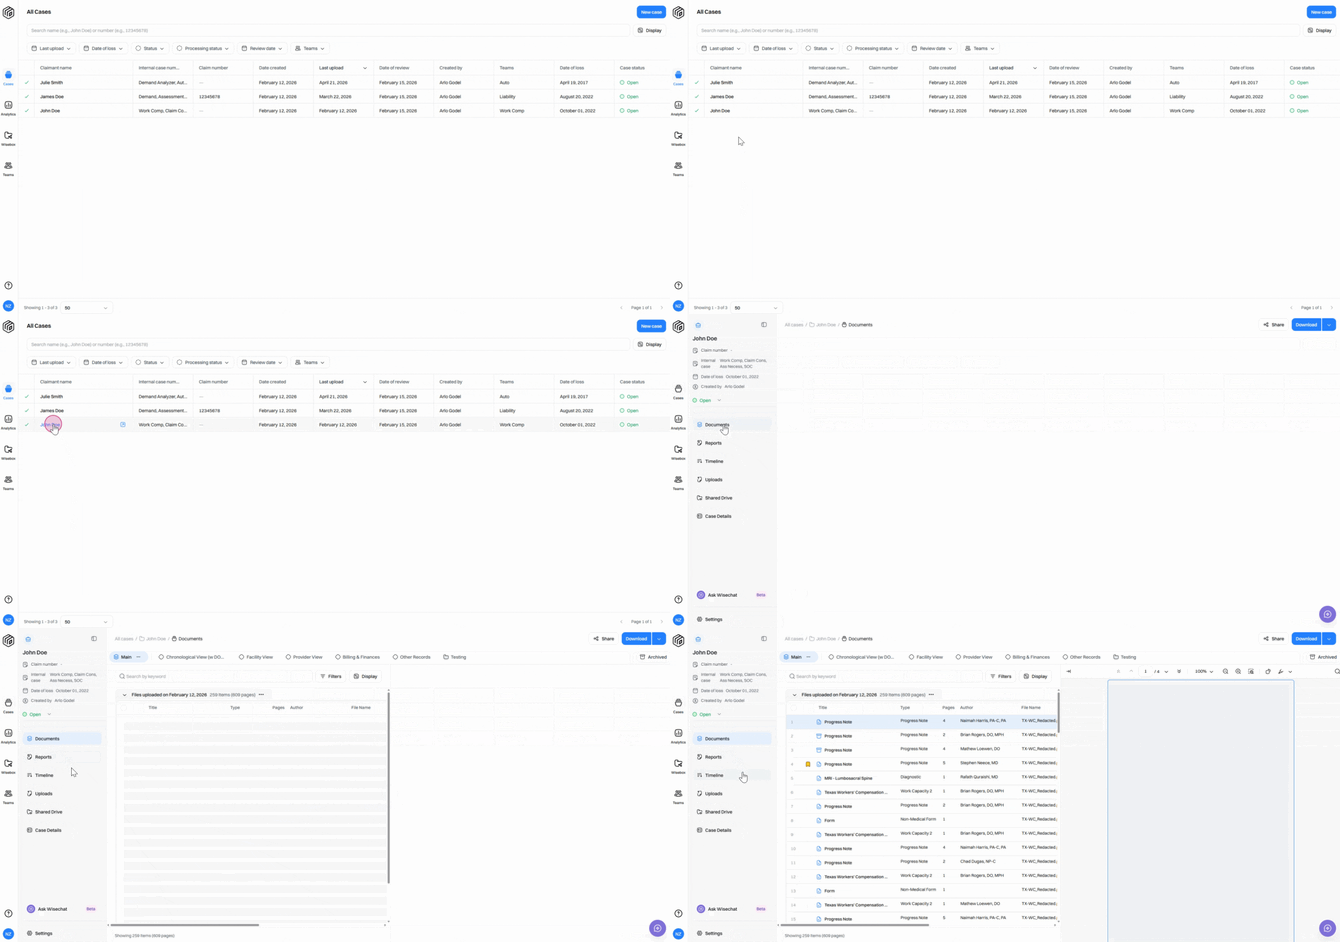
Step 5: In the Case View, navigate between the different sections using the sidebar tabs on the left.
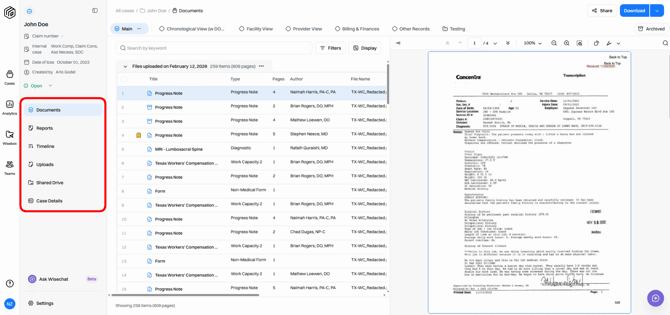
Step 6: The area on the right displays information relevant to the tab you select.
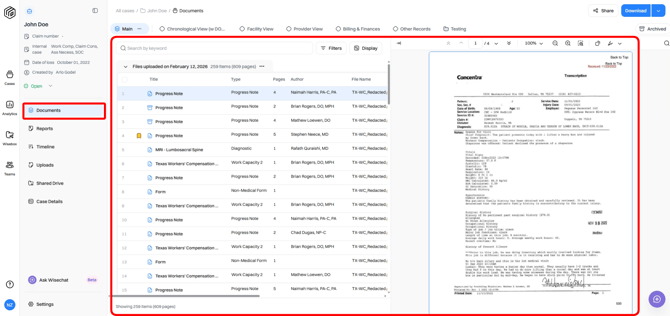
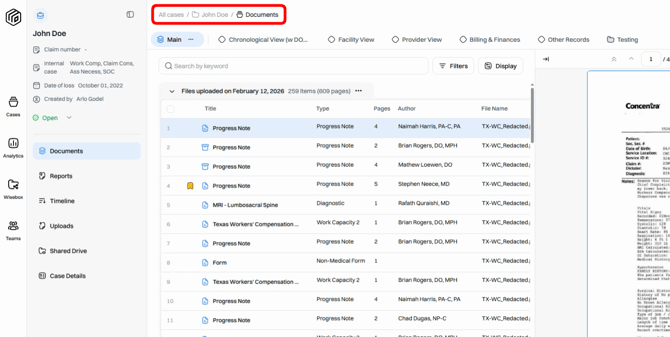
Step 7: Use the breadcrumb trail at the top to track your location in the platform.
Step 8: On the Documents tab, review all documents processed for your case, organized in collections. The Main collection appears first, showing all documents in order of upload.
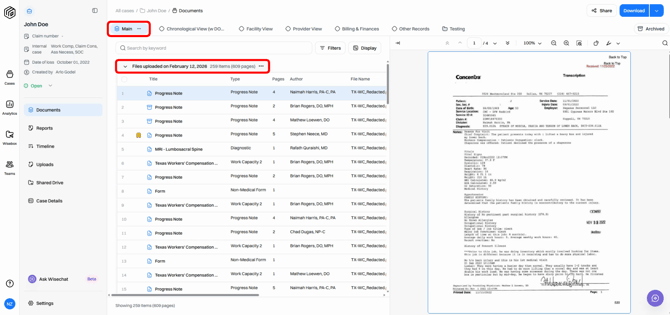
Step 9: Inside each collection, use filters, display options, and the search bar to quickly find specific records.
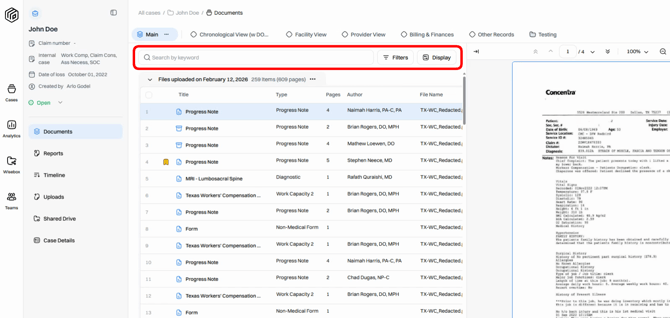
Step 10: Explore additional collections based on your account setup, like Chronological View for example, or Other Records.
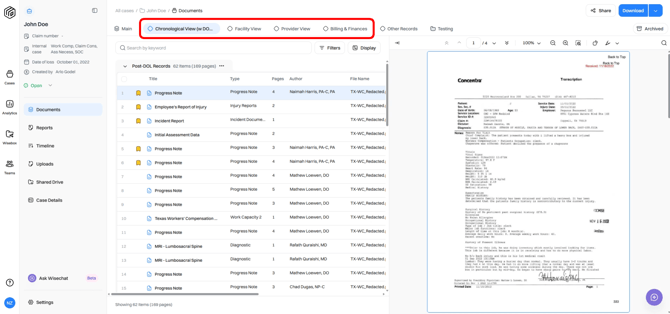
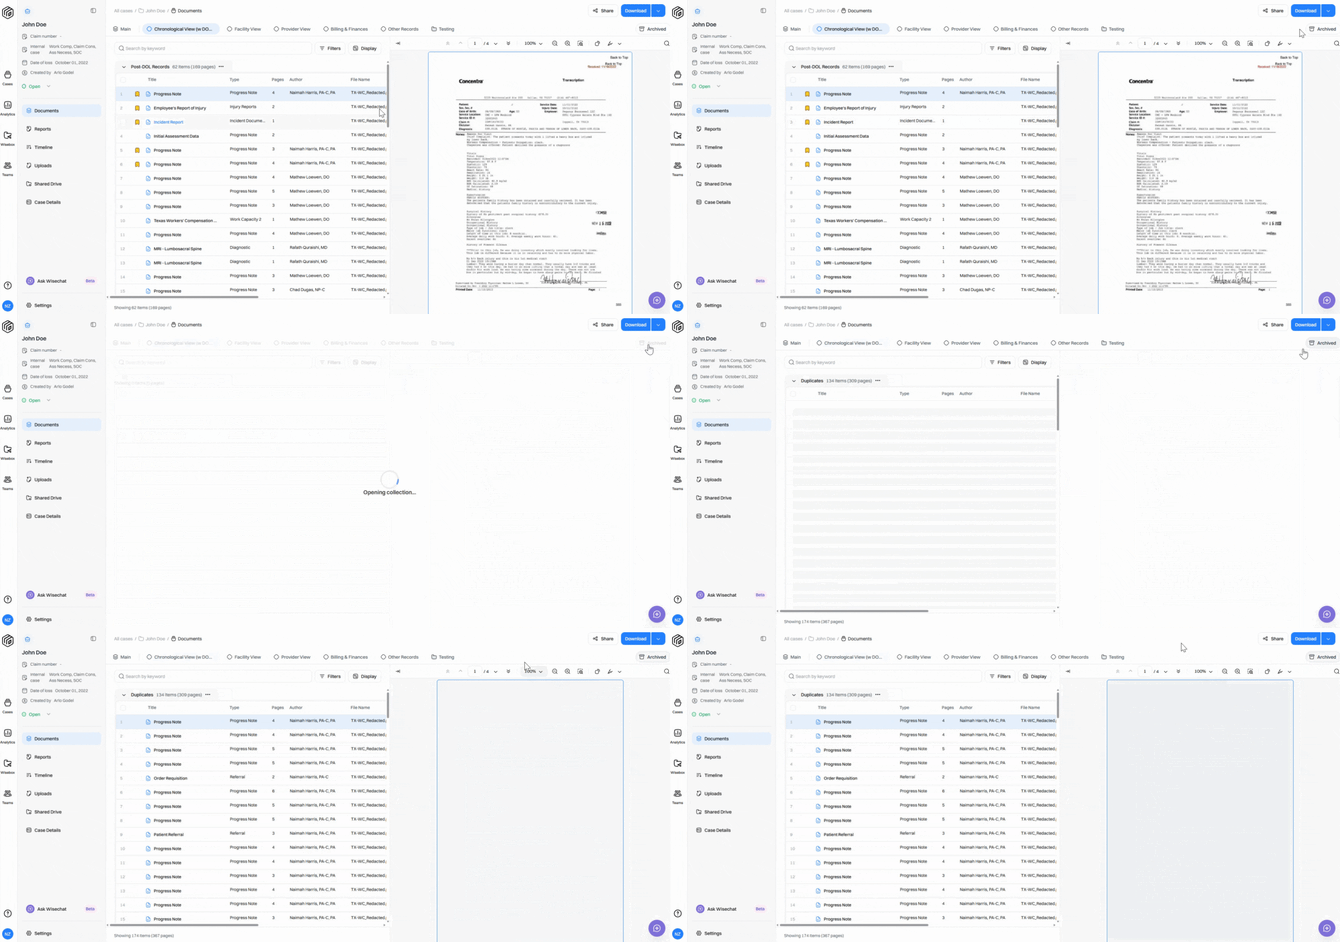
Step 11: The Archive Collection on the far right stores manually archived items. Additional documents may appear here based on your account setup, such as exact duplicates. Think of the archive like a trash bin—documents aren’t deleted, just tucked away so your collections stay clean and focused.
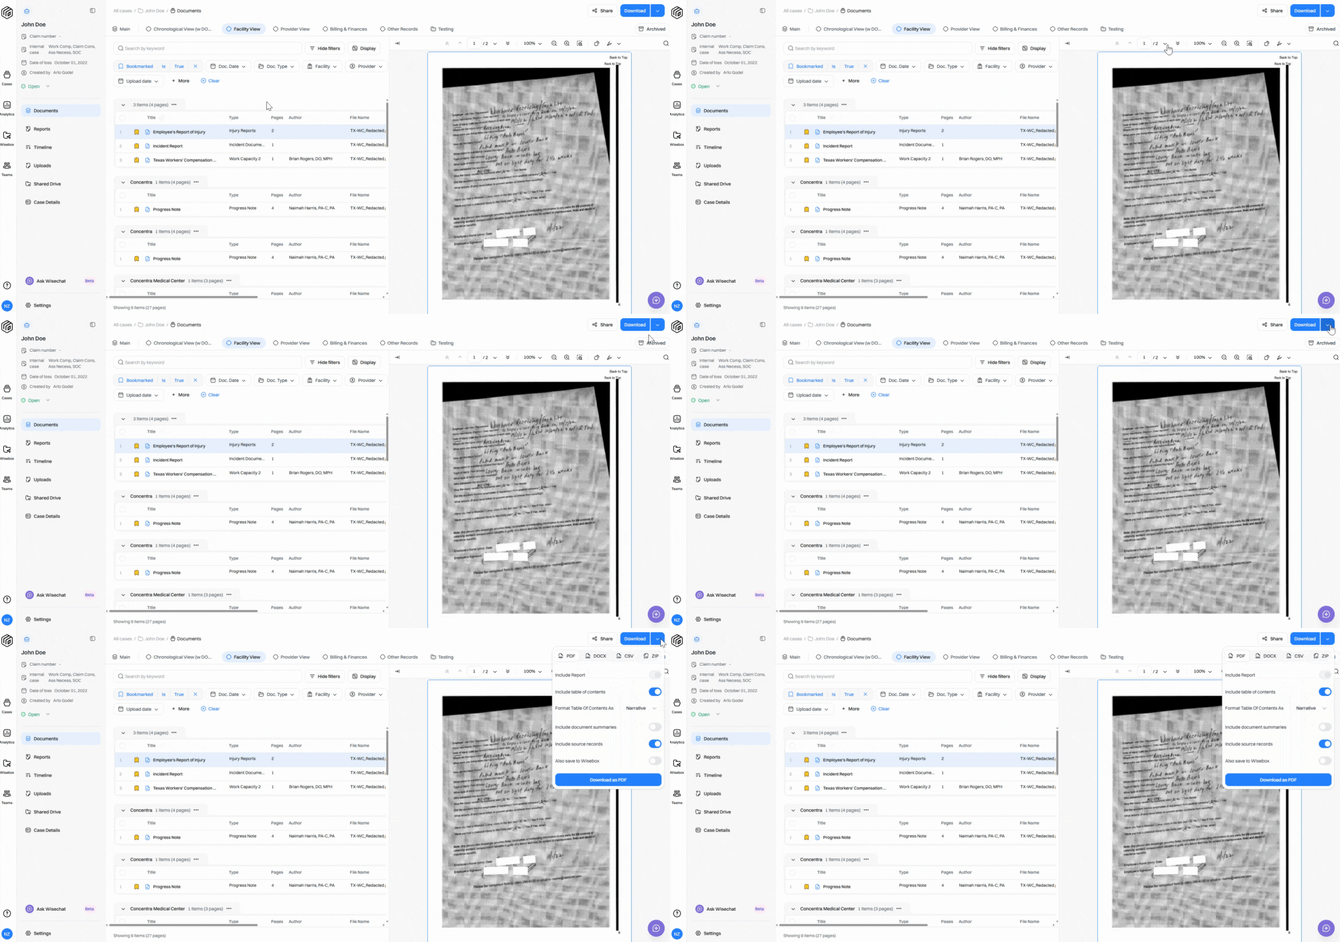
Step 12: Download individual or filtered sets of records using the Download button in the top-right corner. Tailor downloads with options like adding a report, table of contents, summaries, or source records.
Reports: Summarize and Analyze at a Glance
Step 1: Head to the Reports tab to access or create summary reports (analyzers) for your cases.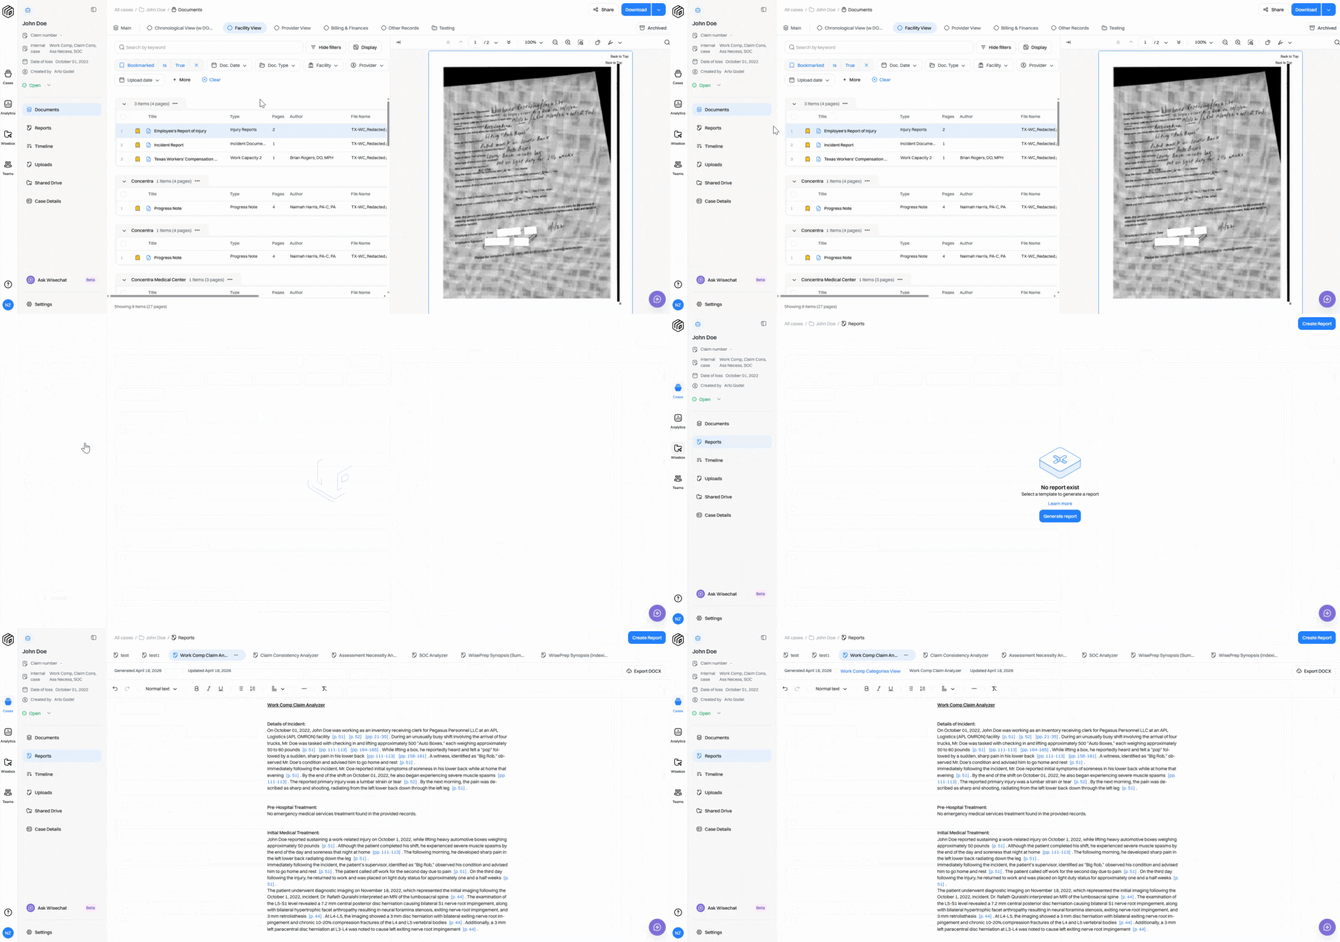
Step 2: Each report is linked to a collection (e.g., Main collection). View date of creation and last updated dates for context.
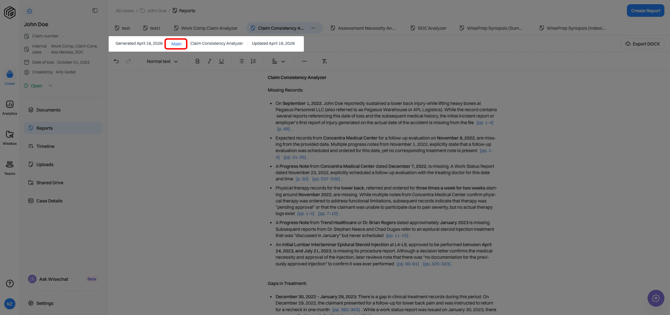
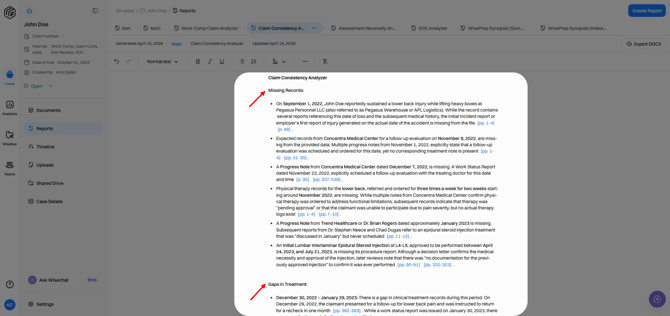
Step 3: Review key insights instantly—missing records, treatment gaps, inconsistencies, and more.
Step 4: Generate new reports at any time, like when you add more records or need updated summaries. Choose the source collection, report name, and report template, then create your report.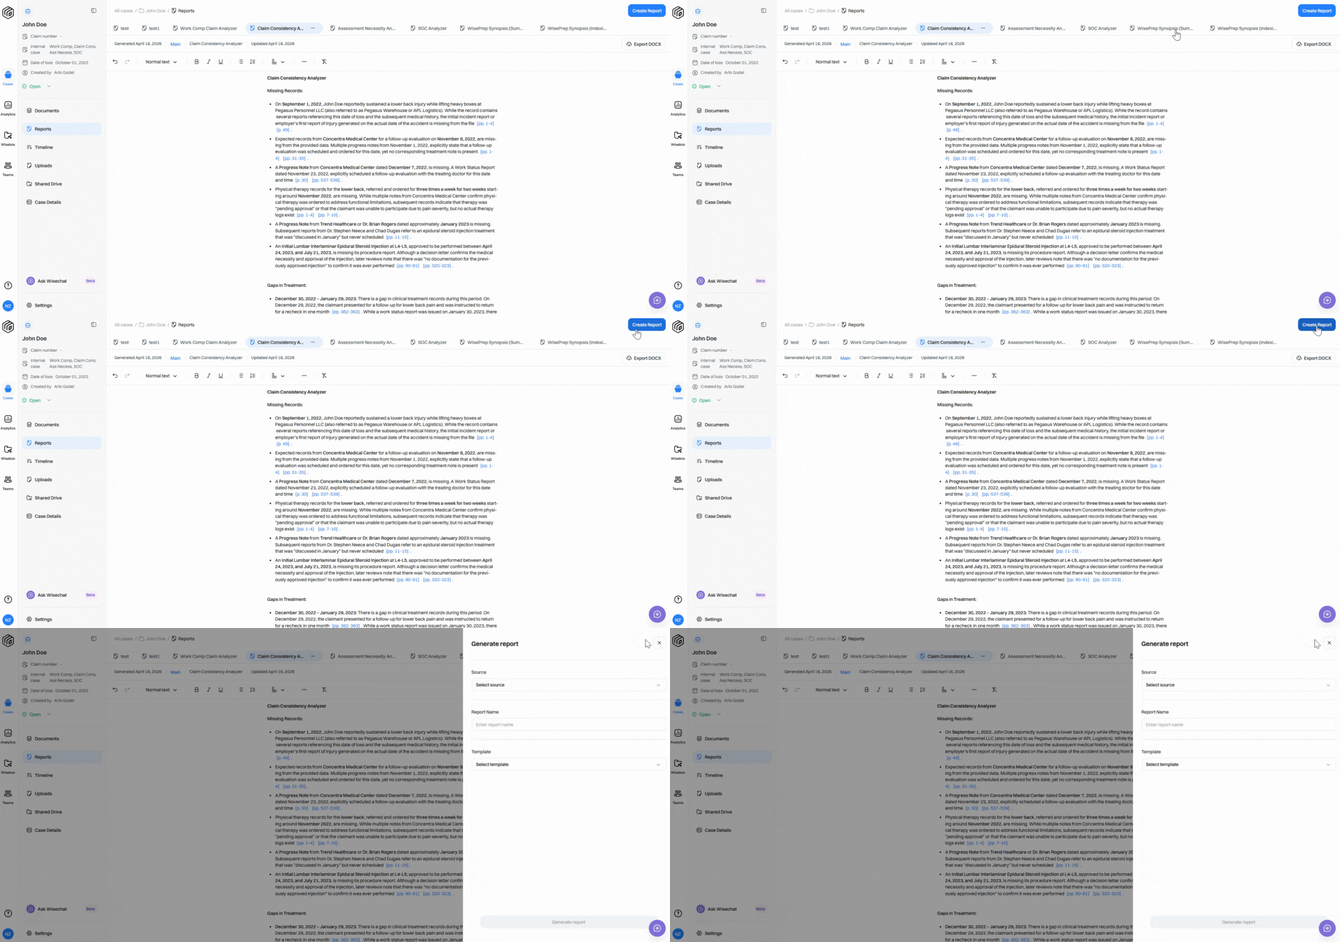
Timeline: Visualize Medical Events
Step 1: Open the Timeline tab for a chronological map of the claimant’s medical history. Key events (diagnoses, treatments, prescriptions) are automatically extracted and organized.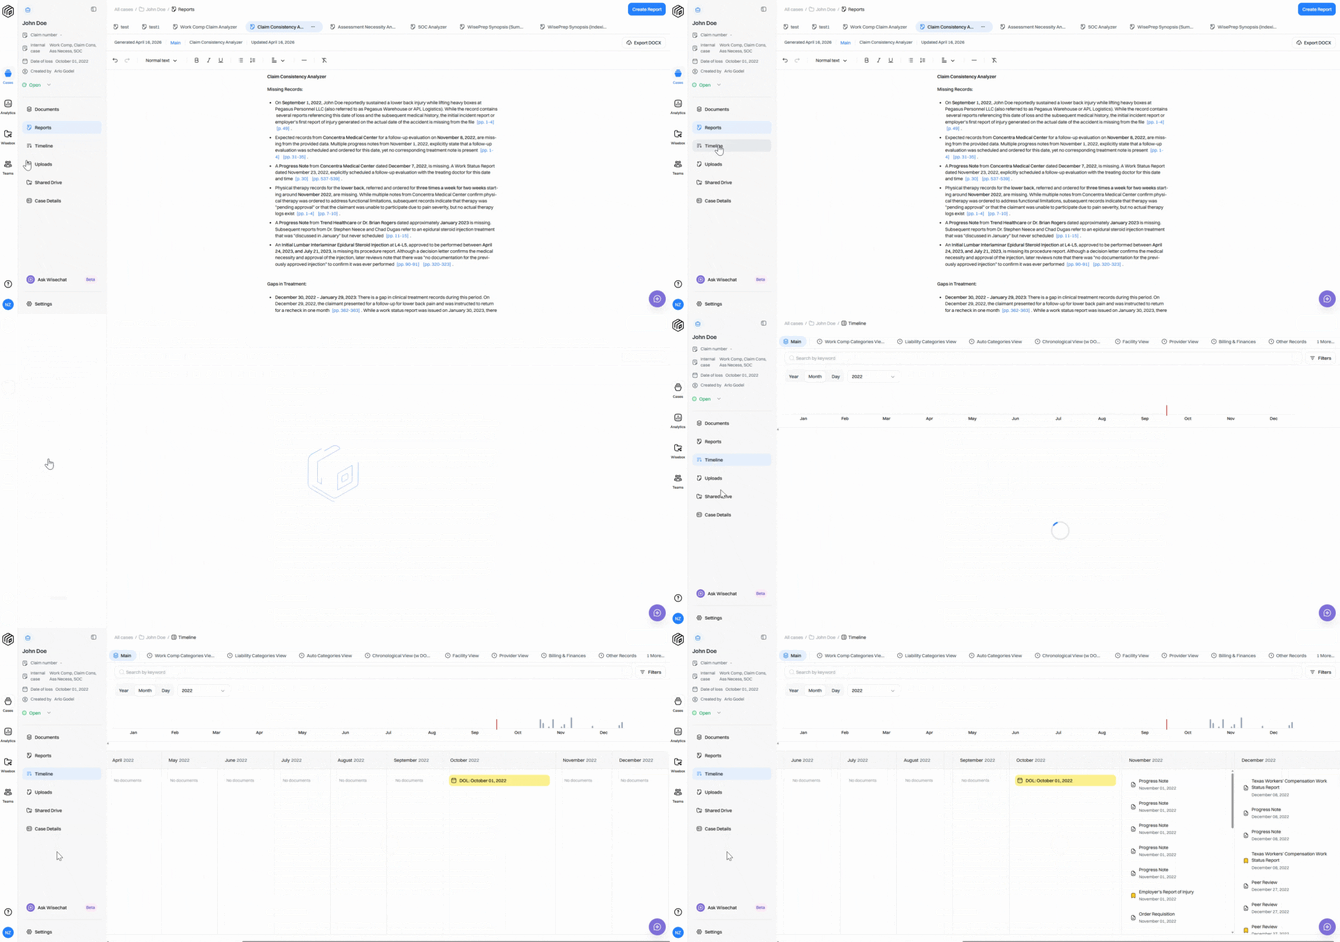
Uploads and Case Details
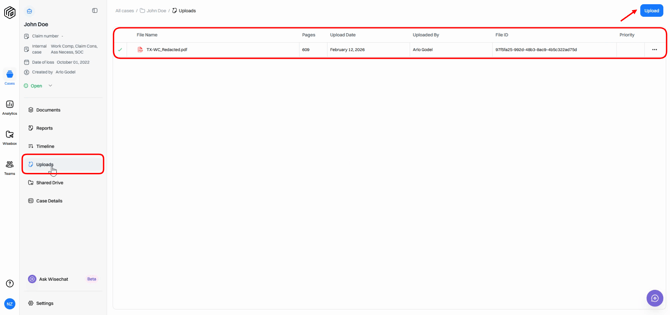
Step 1: The Uploads page lists your upload history — see every file, page count, uploader, and upload date. Upload new records anytime with the upload option.
Step 2: In Case Details, view and edit information entered at case creation, such as claimant profile and claim specifics. Save changes as needed.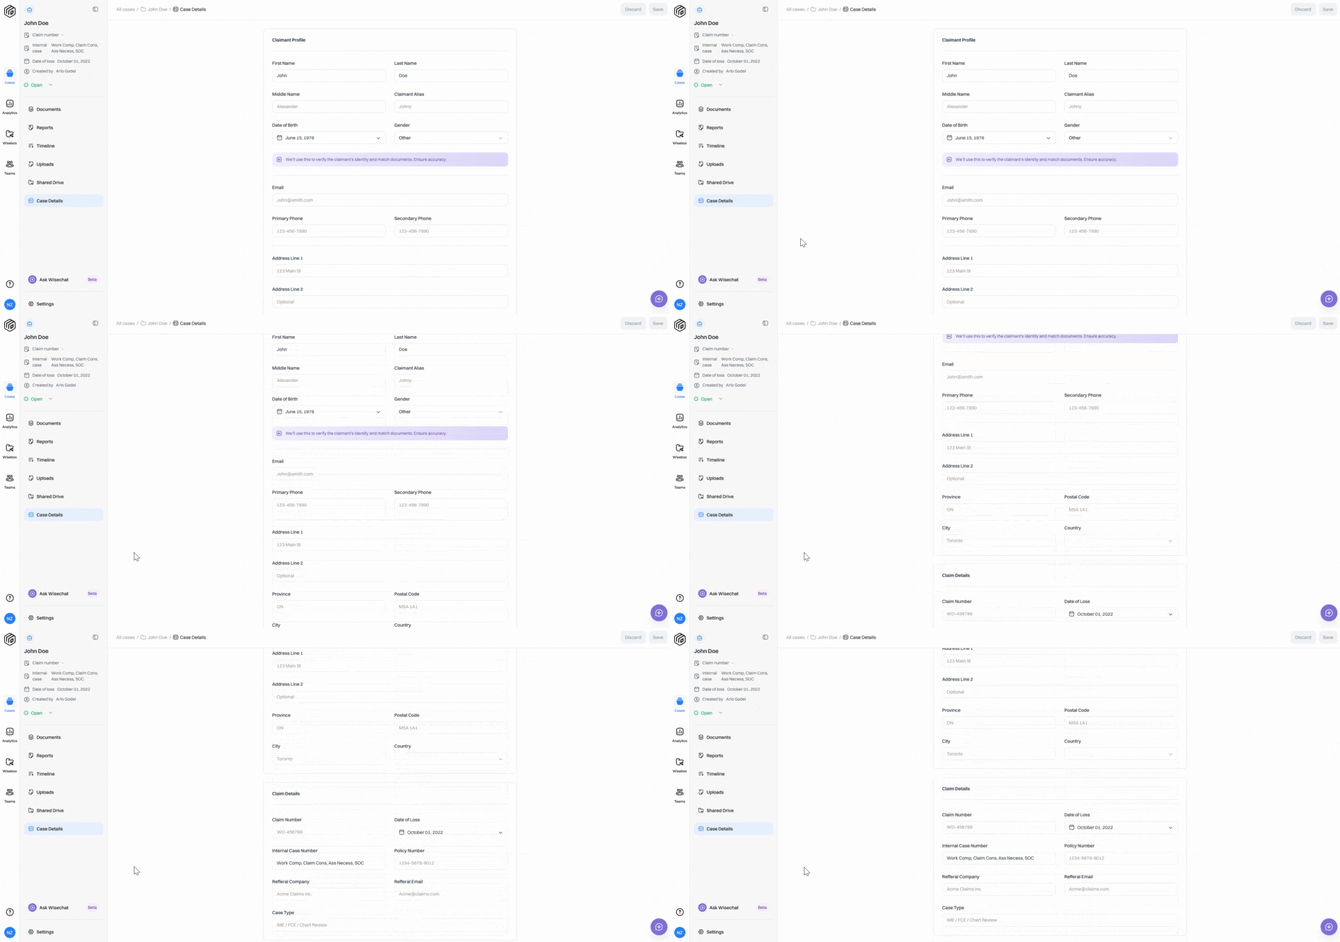
Tips and Customization
Step 1: Need more screen space? Collapse the sidebar by clicking the Close sidebar icon at the top right of the sidebar.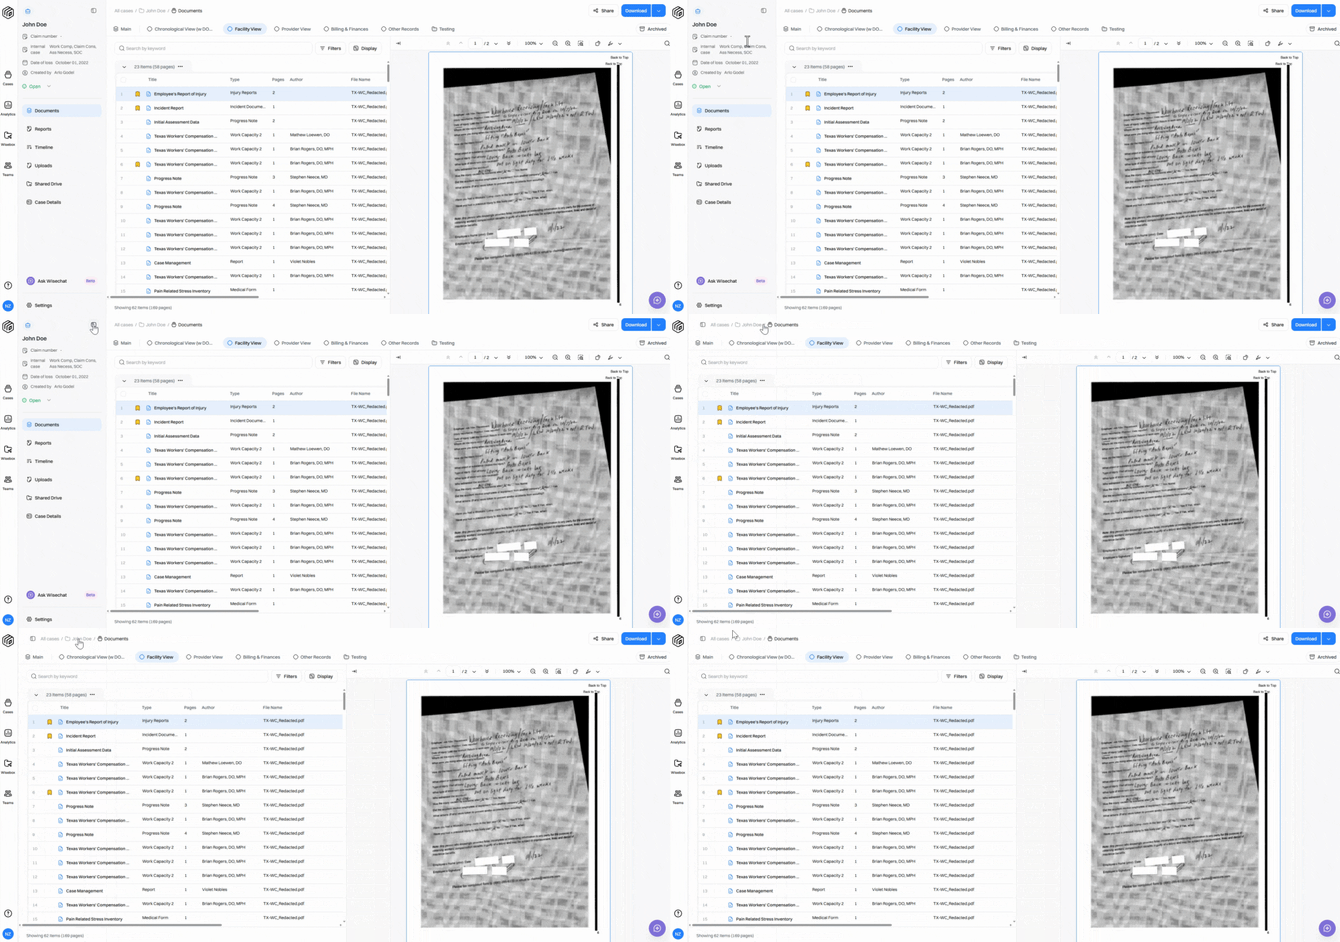
Step 2: Reopen the sidebar using the same icon.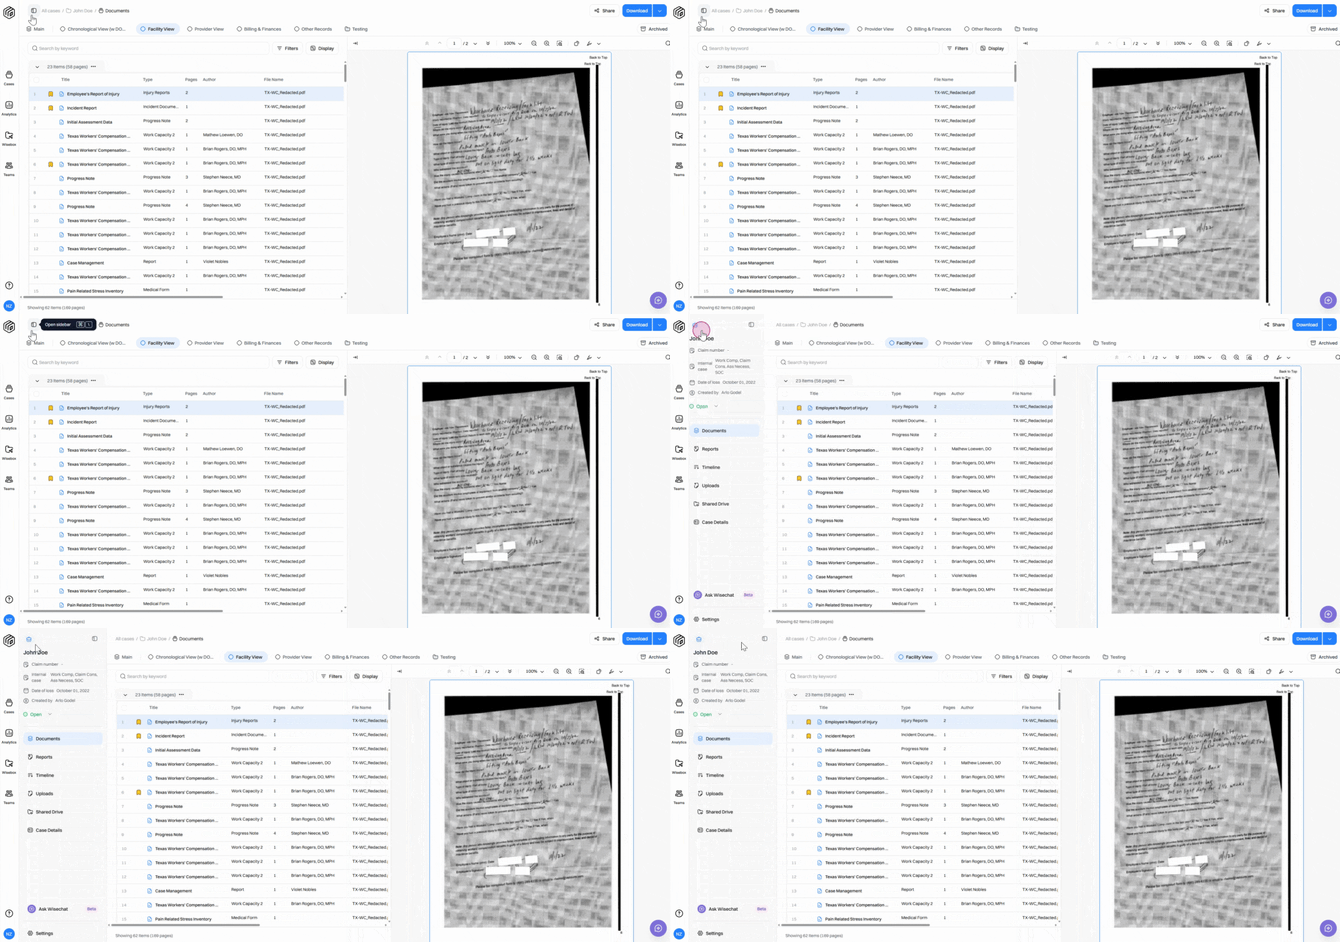
Wisedocs makes organizing, searching, and extracting the right information from medical records effortless. Let Wisedocs handle the details so your team can focus on making better, faster decisions.