
Streamline Complex Cases with Saved Lists in Wisedocs
Managing complex cases is easier when you keep only the most relevant documents at your fingertips. Saved lists in Wisedocs help you build custom collections, cutting out clutter and streamlining your workflow. Here’s how to create and manage a saved list to save time and focus on what matters.
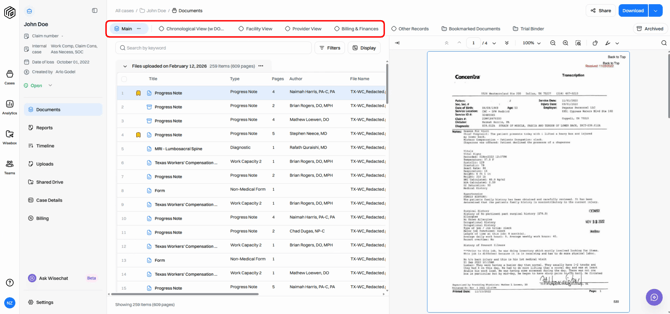
Step 1: Open your case in Wisedocs. You’ll see documents sorted into default collections based on how your account is set up.
Step 2: Decide which documents you want in your saved list. Check the boxes to the left of each document title.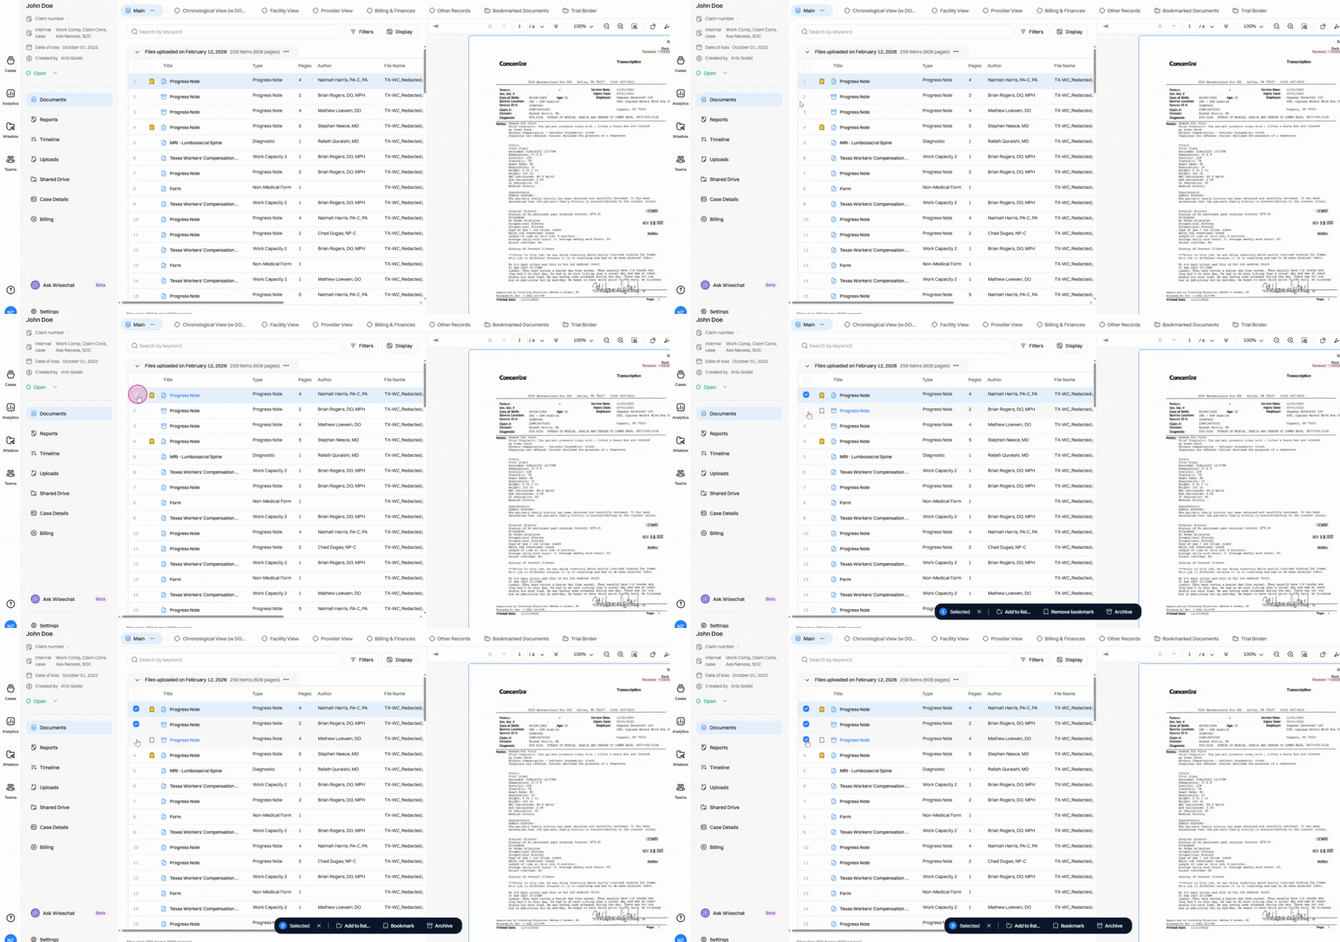
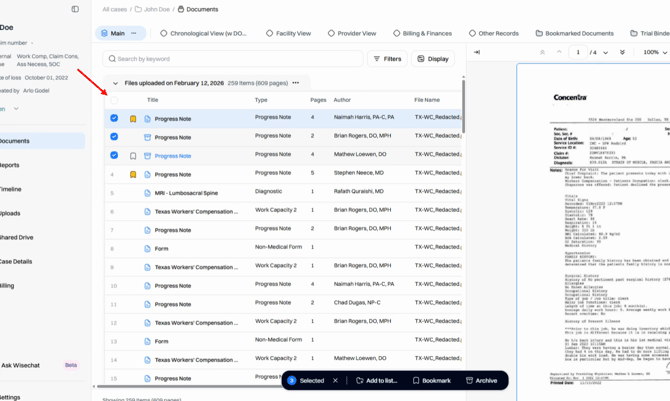
Step 3: To select all documents, click the checkbox at the top of the table.
Step 4: After making your selections, look for the toolbar that appears and click Add to List.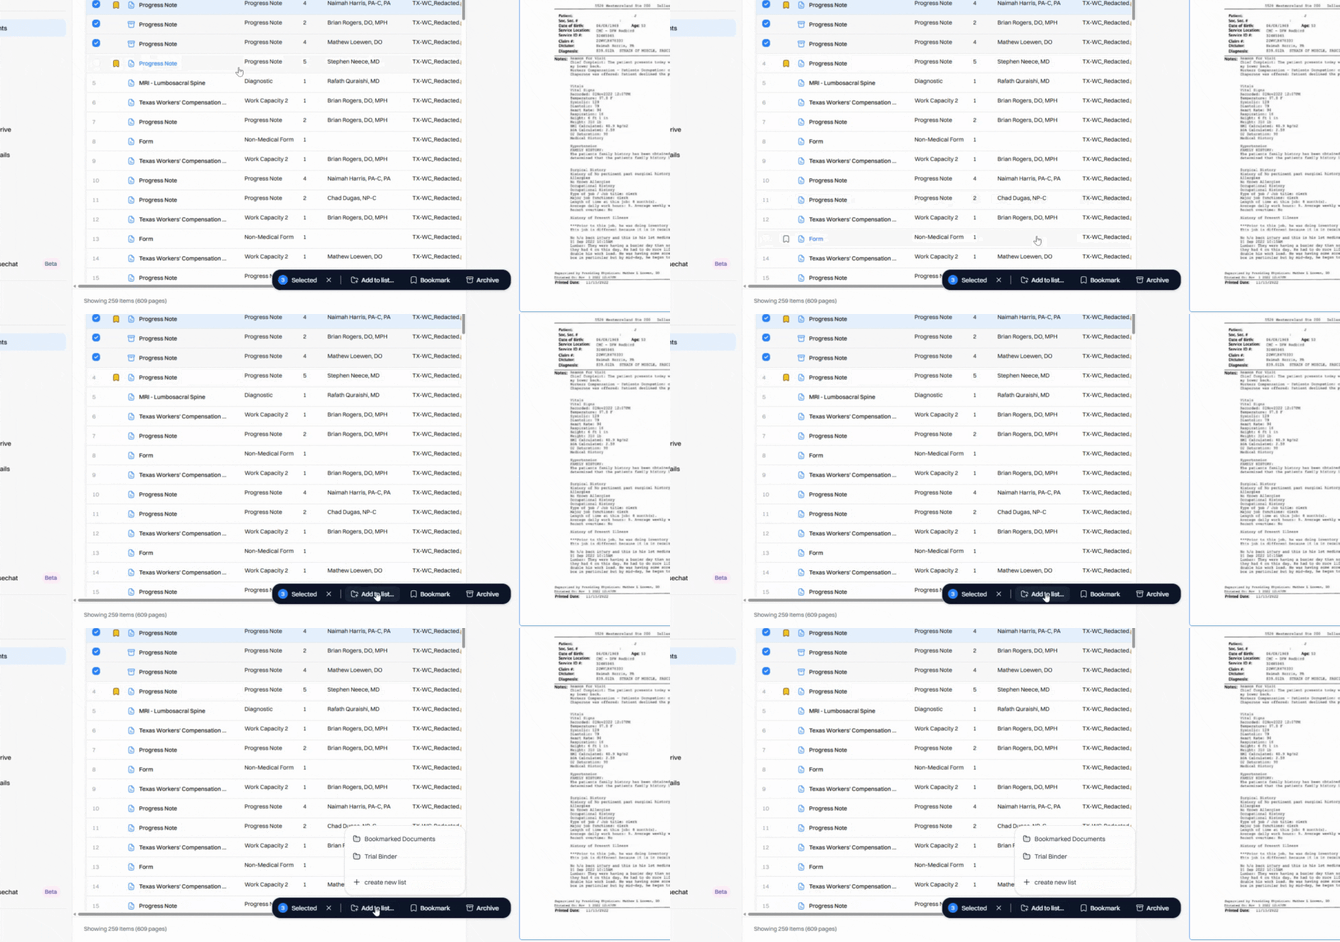
Step 5: Choose to create a new list or add documents to an existing list. For a new list, enter a name and optionally add a description, then click Save.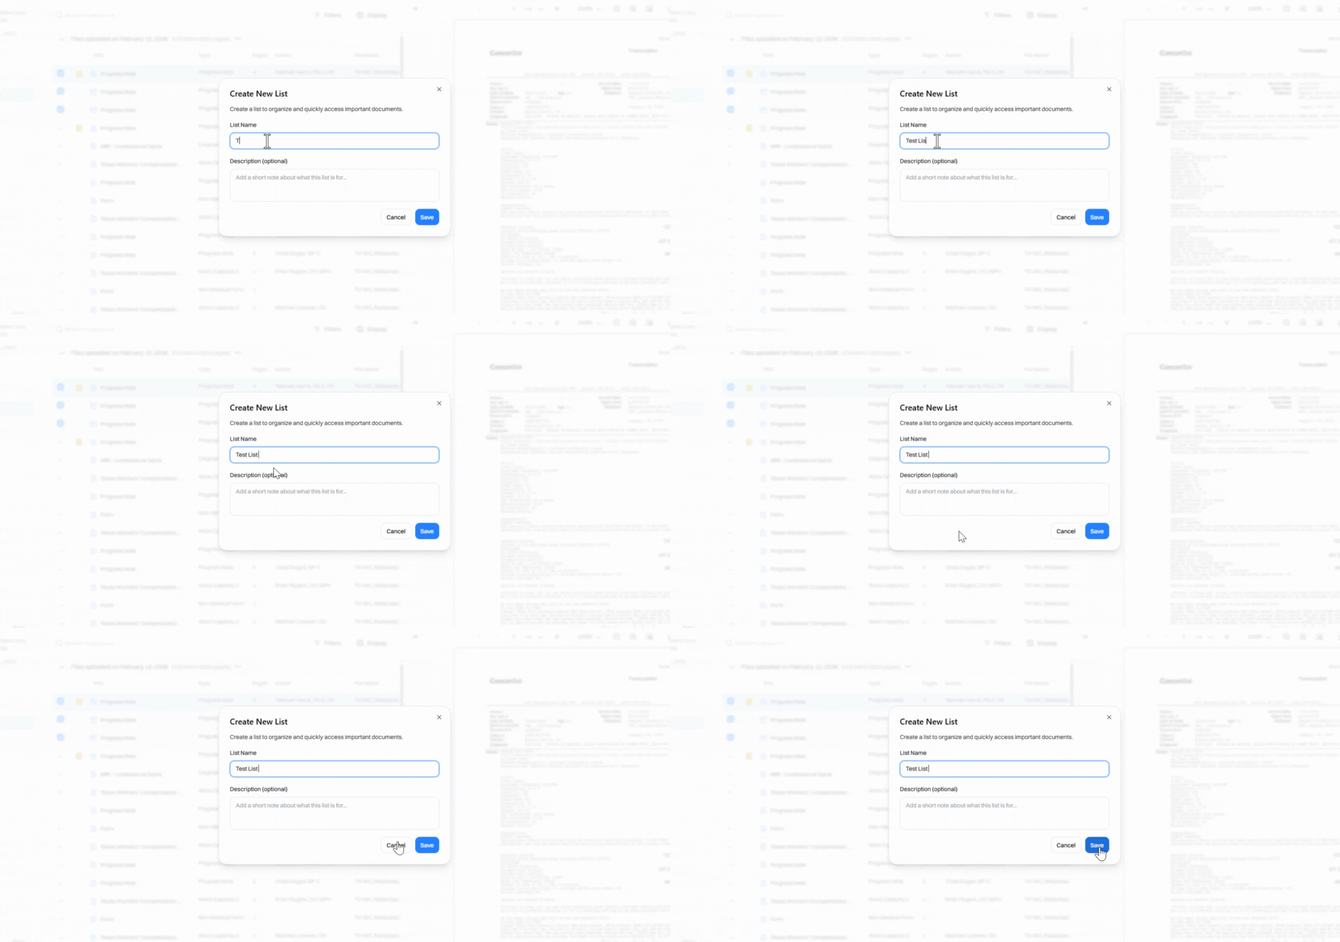
Step 6: Your saved list appears alongside other collections, marked with a folder icon so it’s easy to spot.
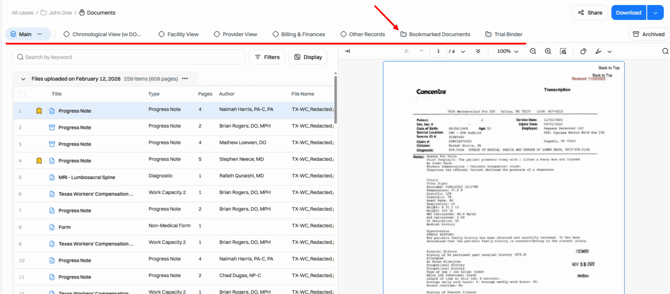
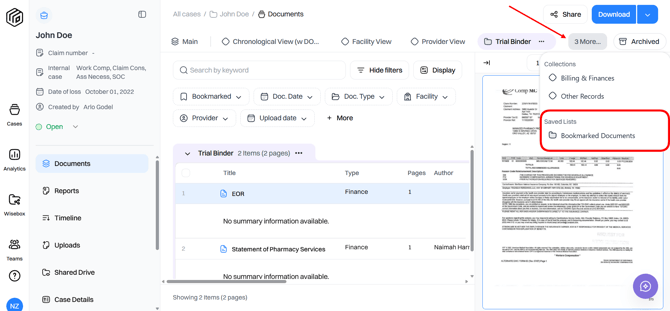
Step 7: If you don’t see your new list, click more on the collections bar.
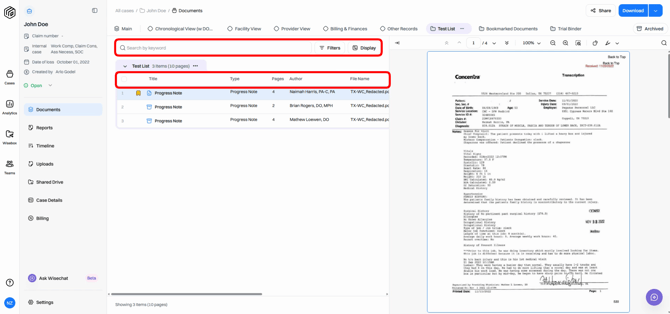
Step 8: In your saved list, use sorting, search, and filters to customize your view just like you would with any collection.
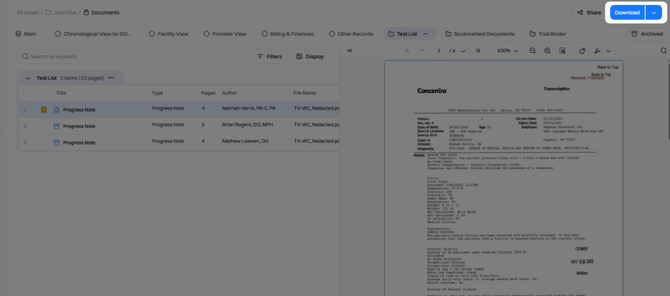
Step 9: Download your saved list at any time if you need to share or archive it.
Step 10: To rename or delete a saved list, click the three dots next to the list name and select your preferred action.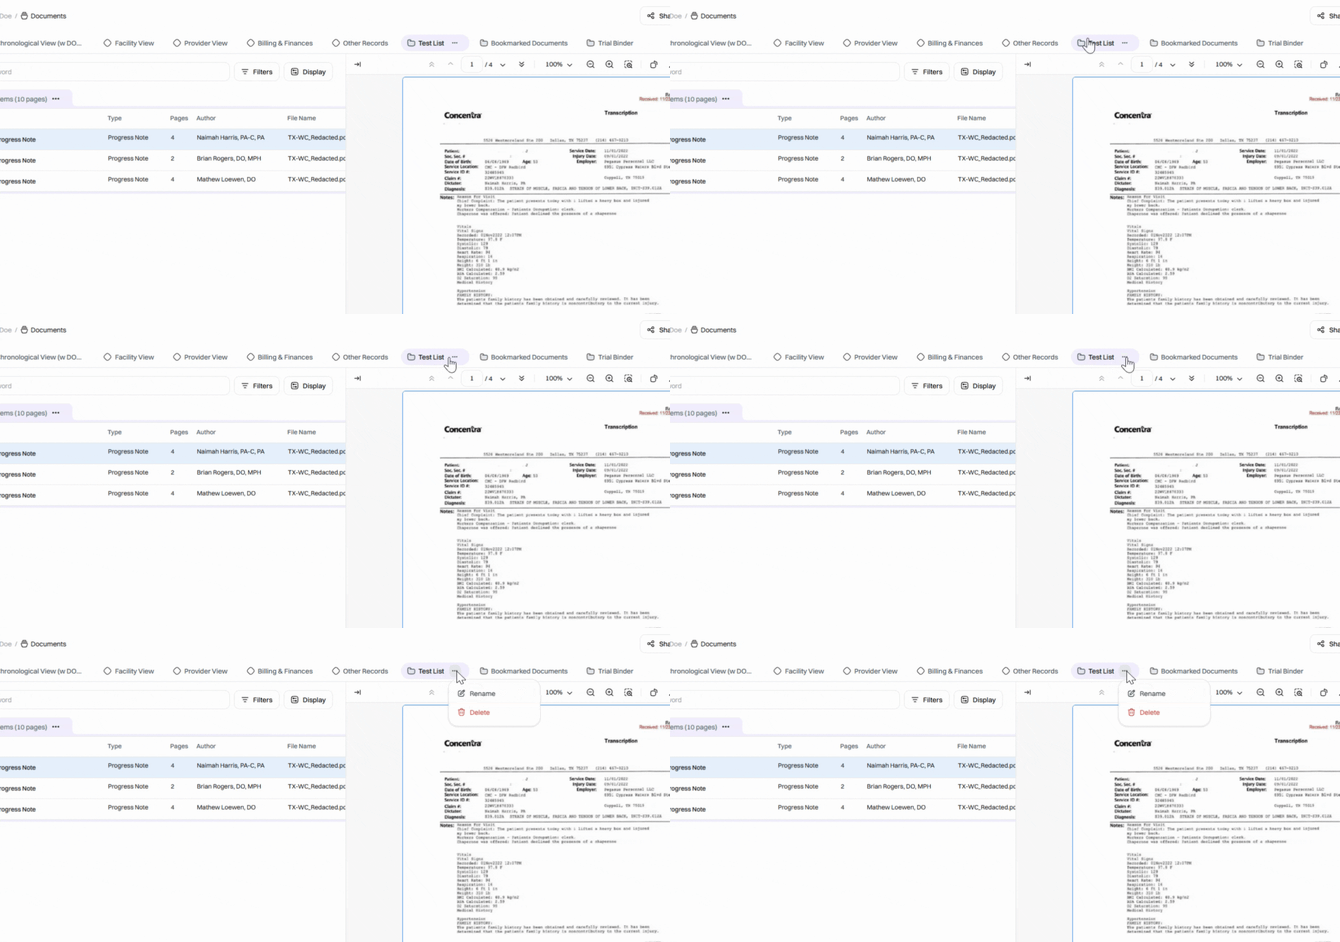
Saved lists don’t update automatically—add and remove documents manually to keep them current. Think of saved lists as your personal, curated folders that organize key documents exactly how you need. This flexibility keeps your review process fast, focused, and efficient.