
View the Full Medical History of a Case Using the Timeline Feature
Reviewing medical records often requires sorting through hundreds—or even thousands—of pages to reconstruct a claimant’s story. The Timeline transforms this process by providing a clear, chronological view of the claimant’s medical history, allowing you to quickly analyze key events and gain valuable insights without the burden of manual record review.
Step 1: Access the Timeline
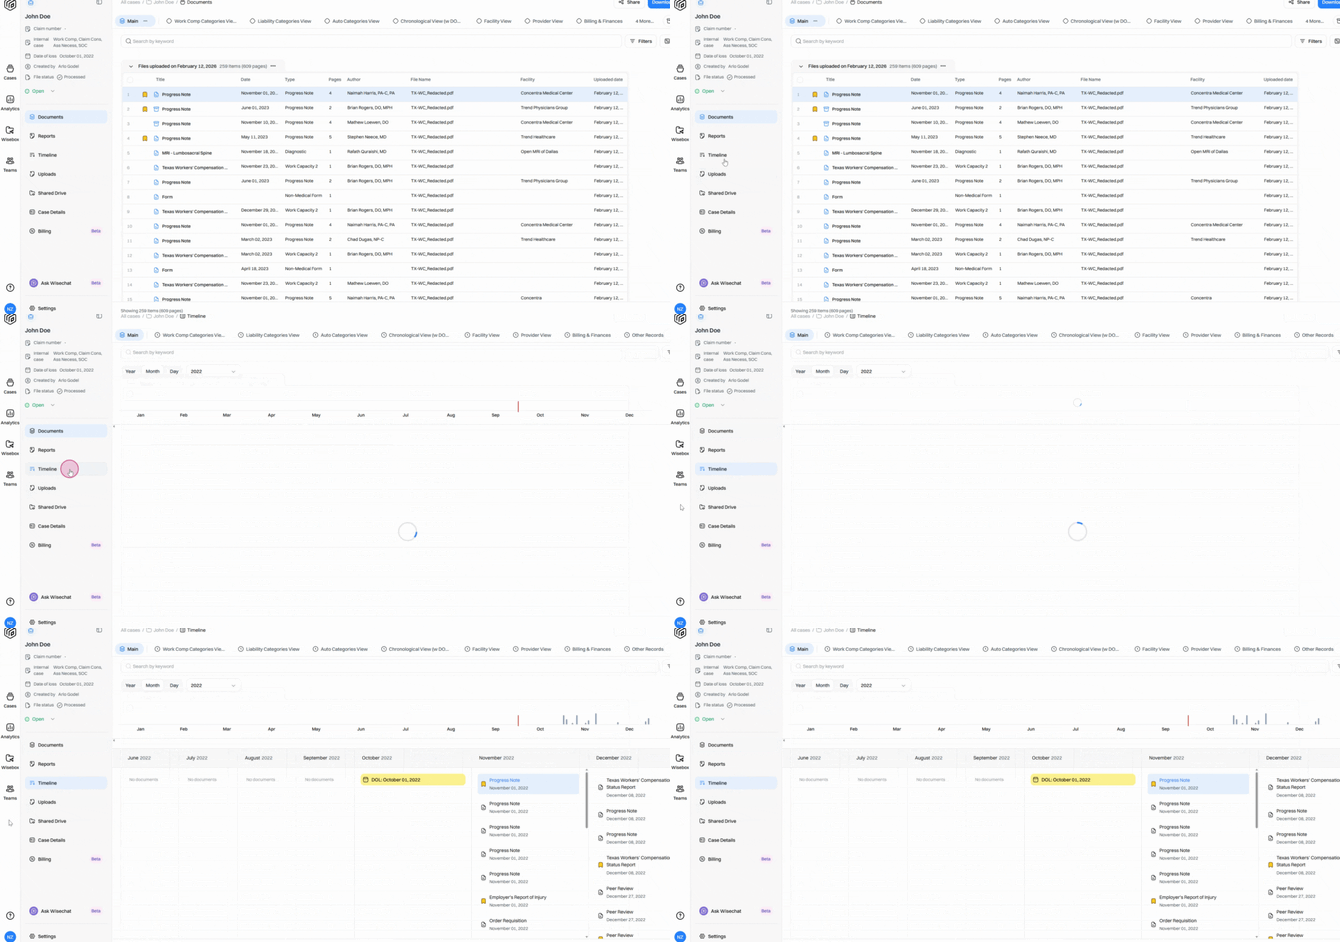
Click into a case. Then open the Timeline tab from the sidebar.
Step 2: Explore Collections, Search, and Filters
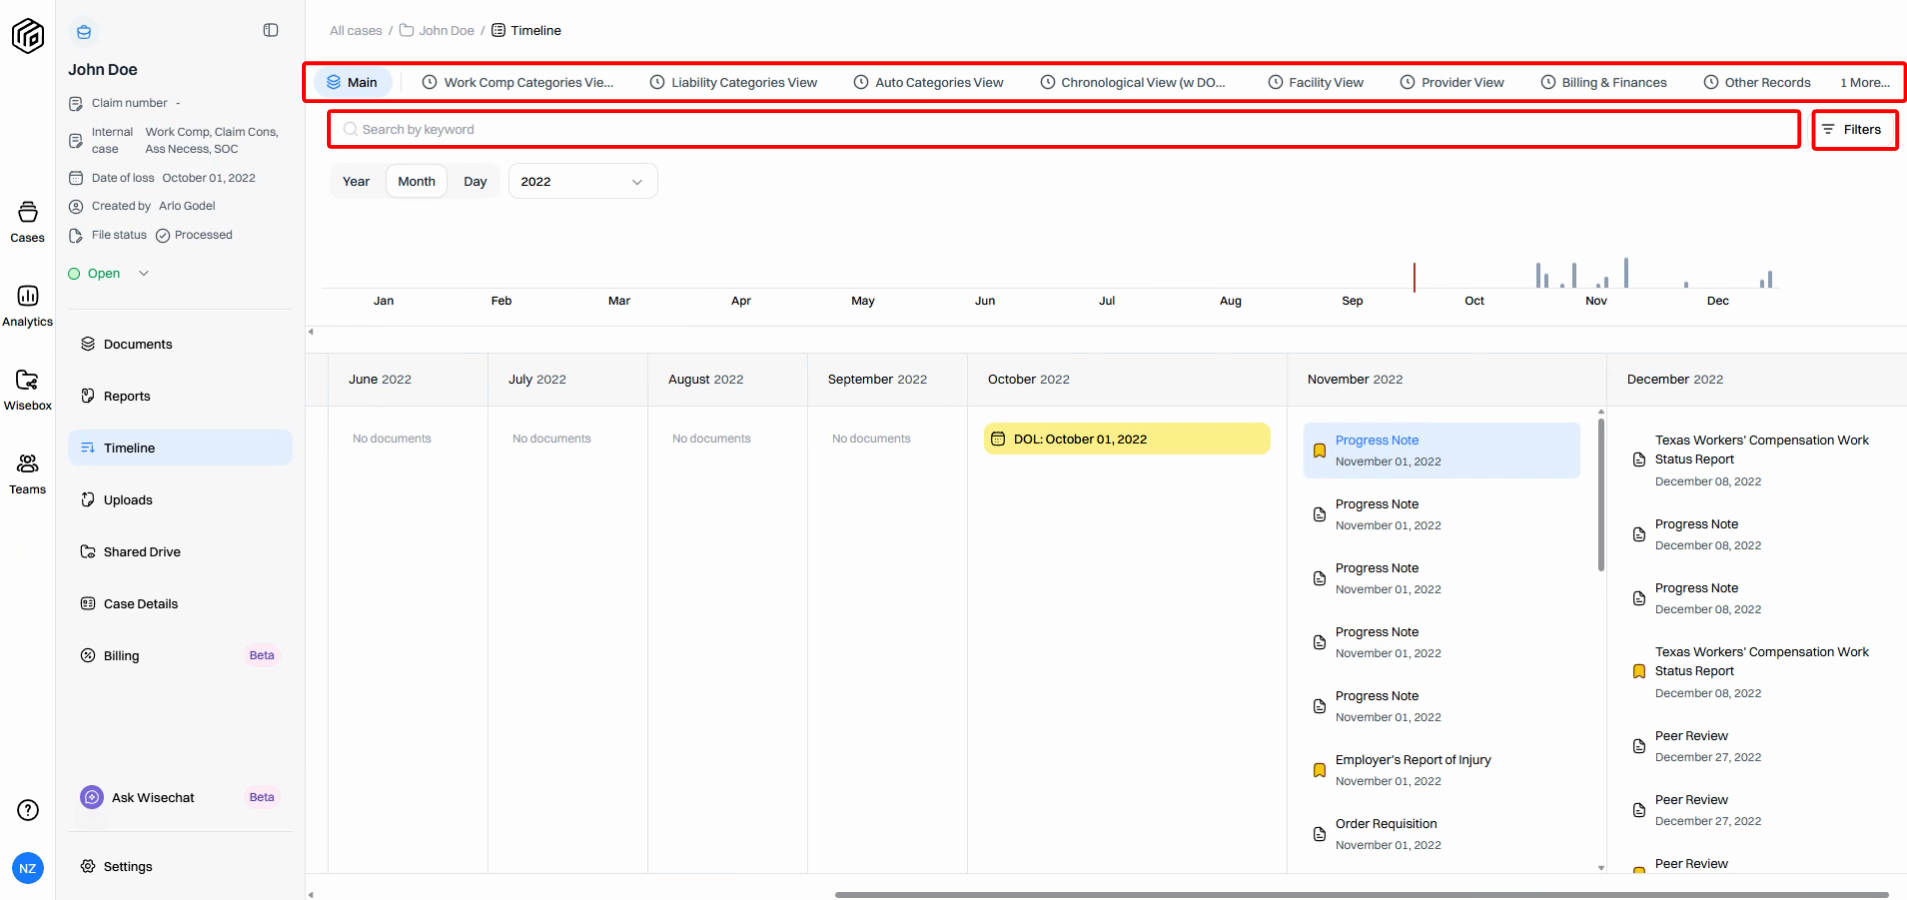
Use collections, the keyword search or apply filters to quickly find the information you need, just like in the Documents tab.
Step 3: Adjust the Timeline View
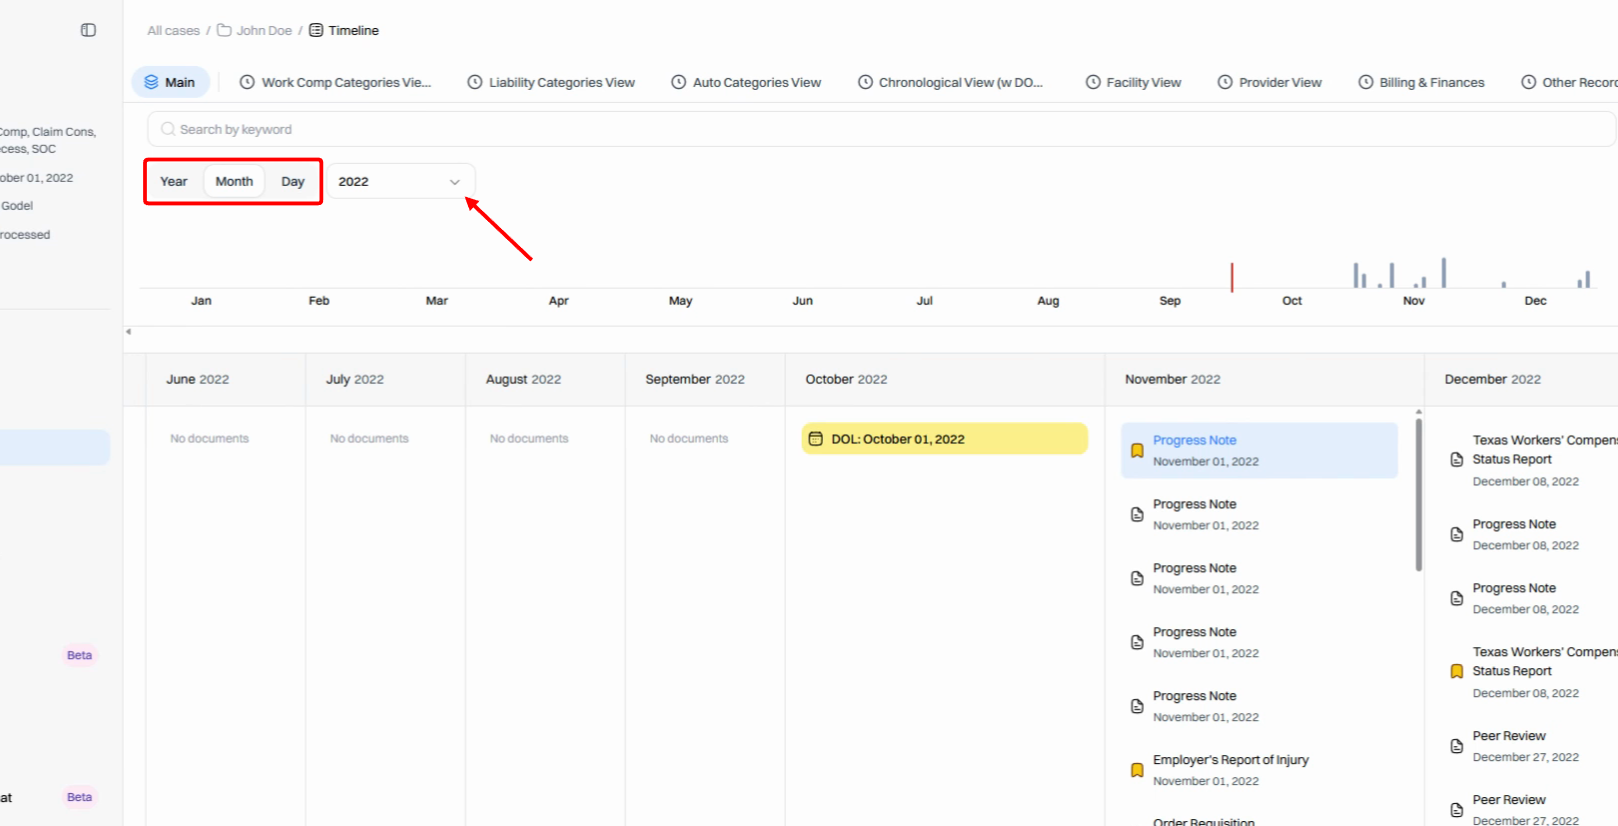
Sort the timeline by year, month, or day. Toggle to other years if necessary.
Step 4: Analyze Timeline Markers
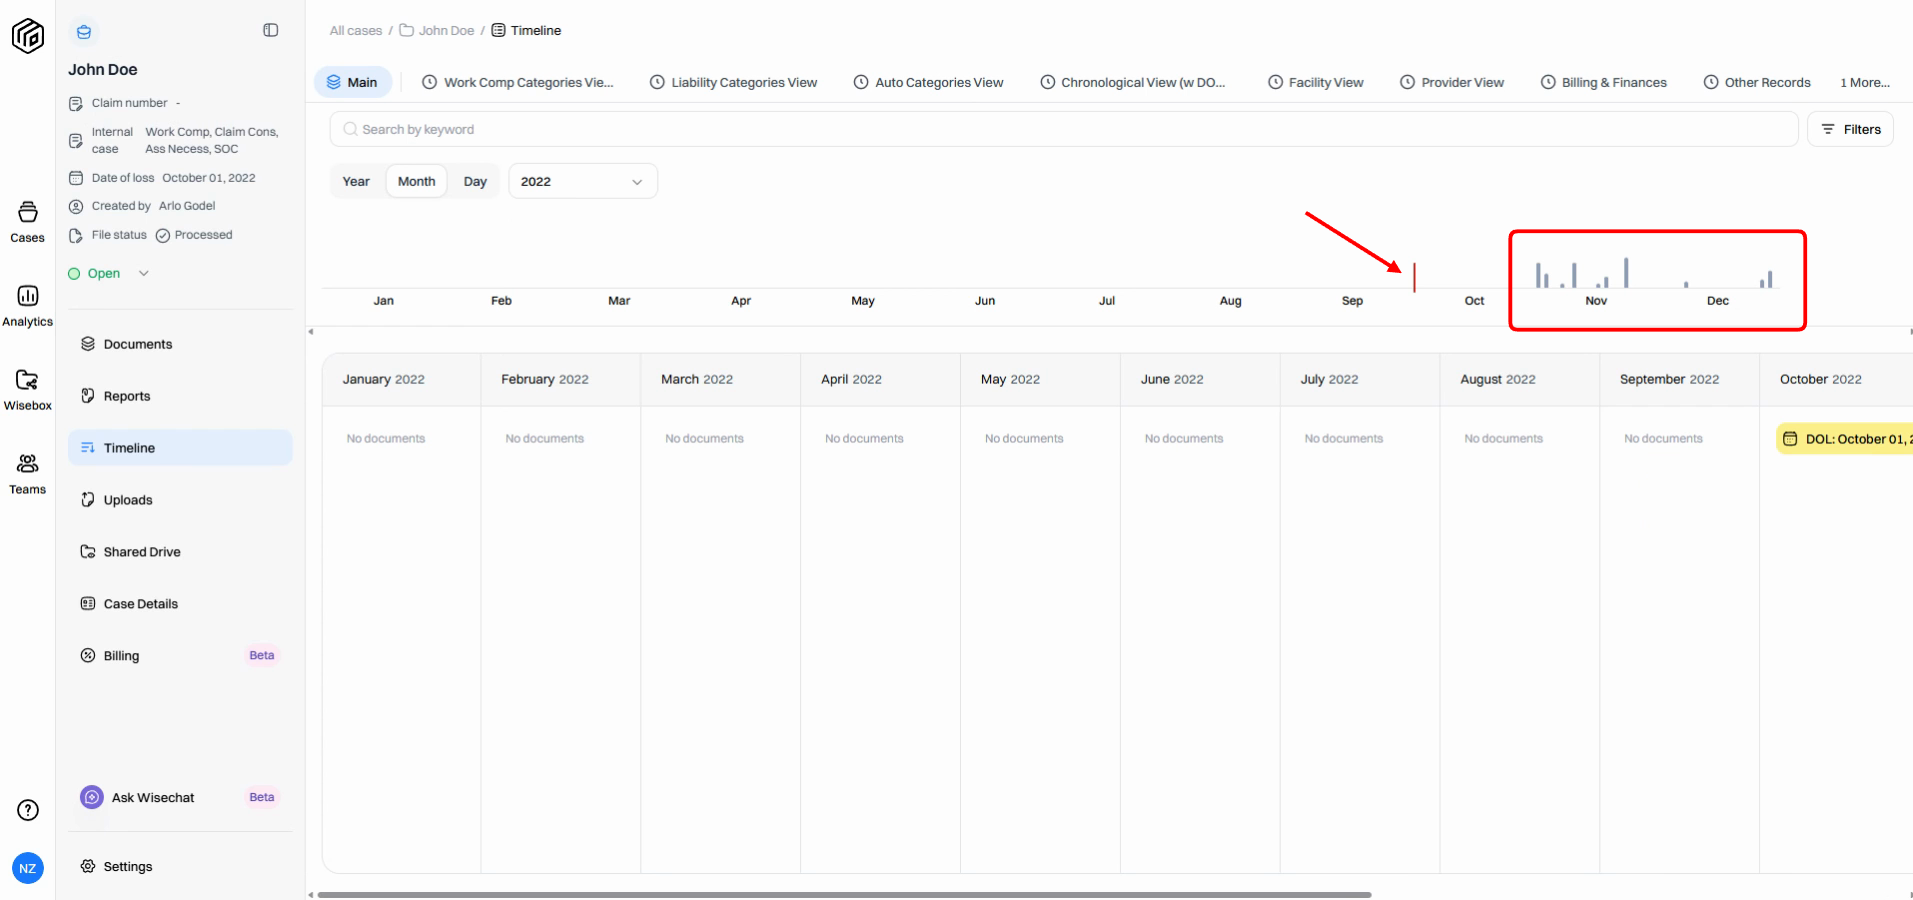
Look for visual markers indicating periods of activity. This helps you spot patterns, gaps, or inconsistencies in the medical history. The red marker highlights the date of loss.
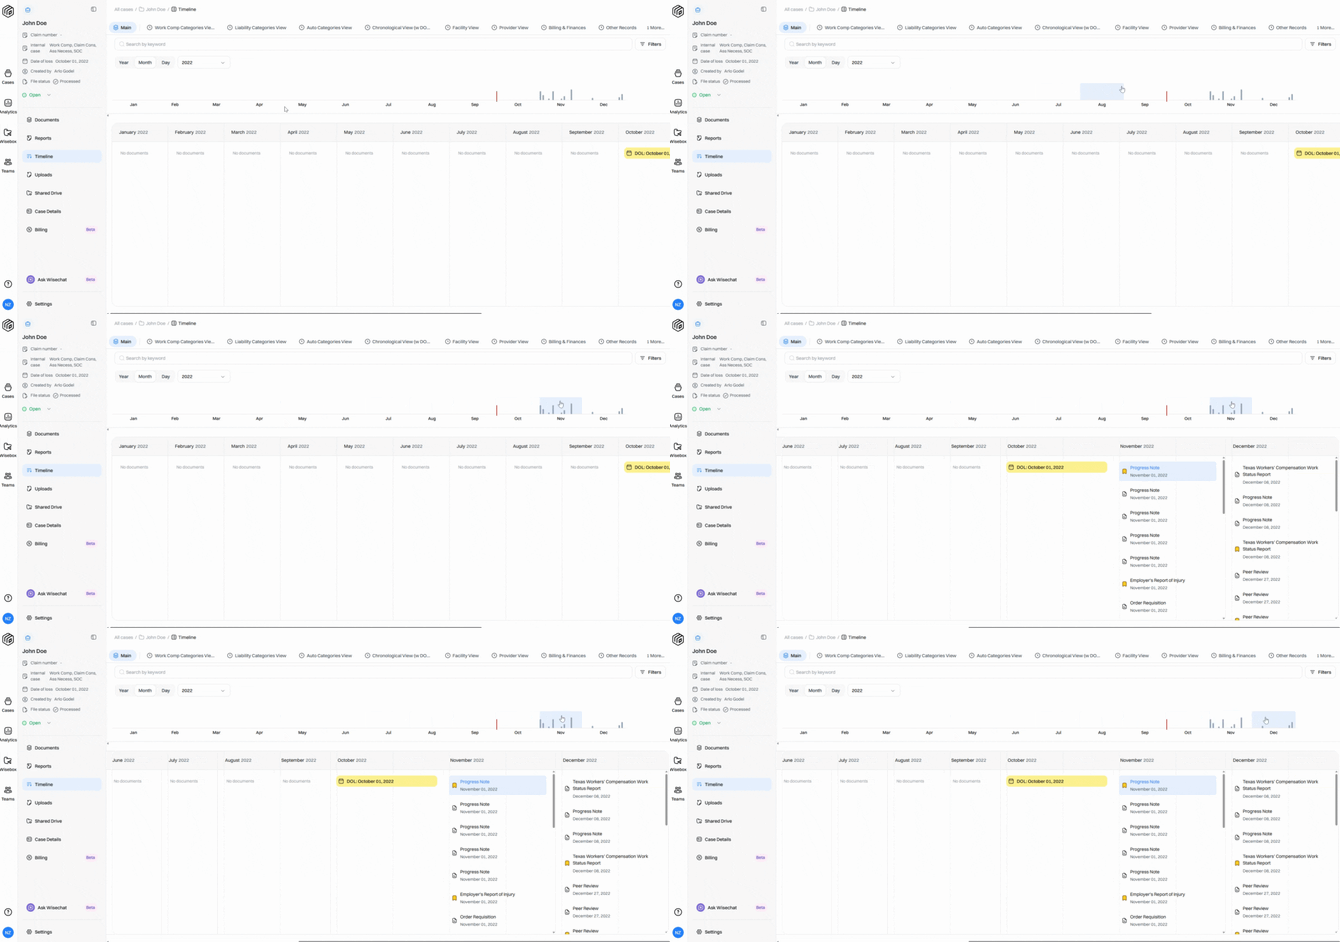
Step 5: Review Records Breakdown
Click any period on the timeline map to expand its events. Scroll down for a detailed breakdown of all records tied to the selected timeframe. The date of loss appears in yellow for easy reference.
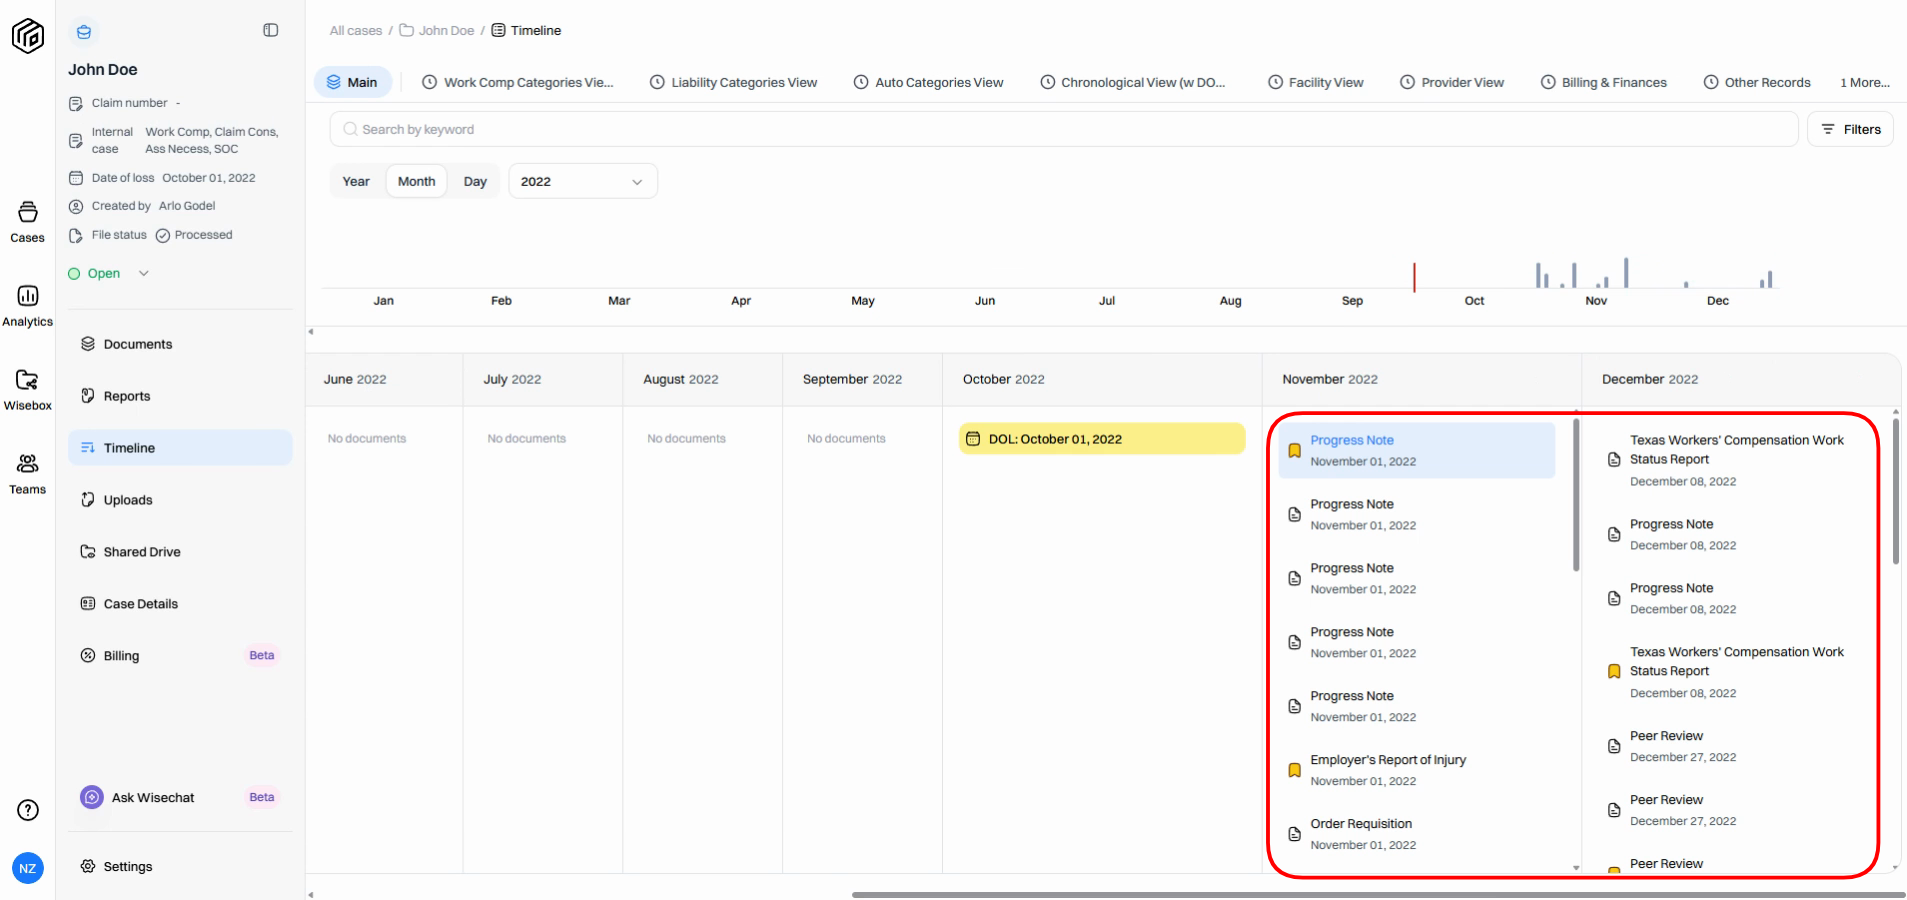
Step 6: Examine Event Details
See a list of all records and documents associated with your chosen dates.
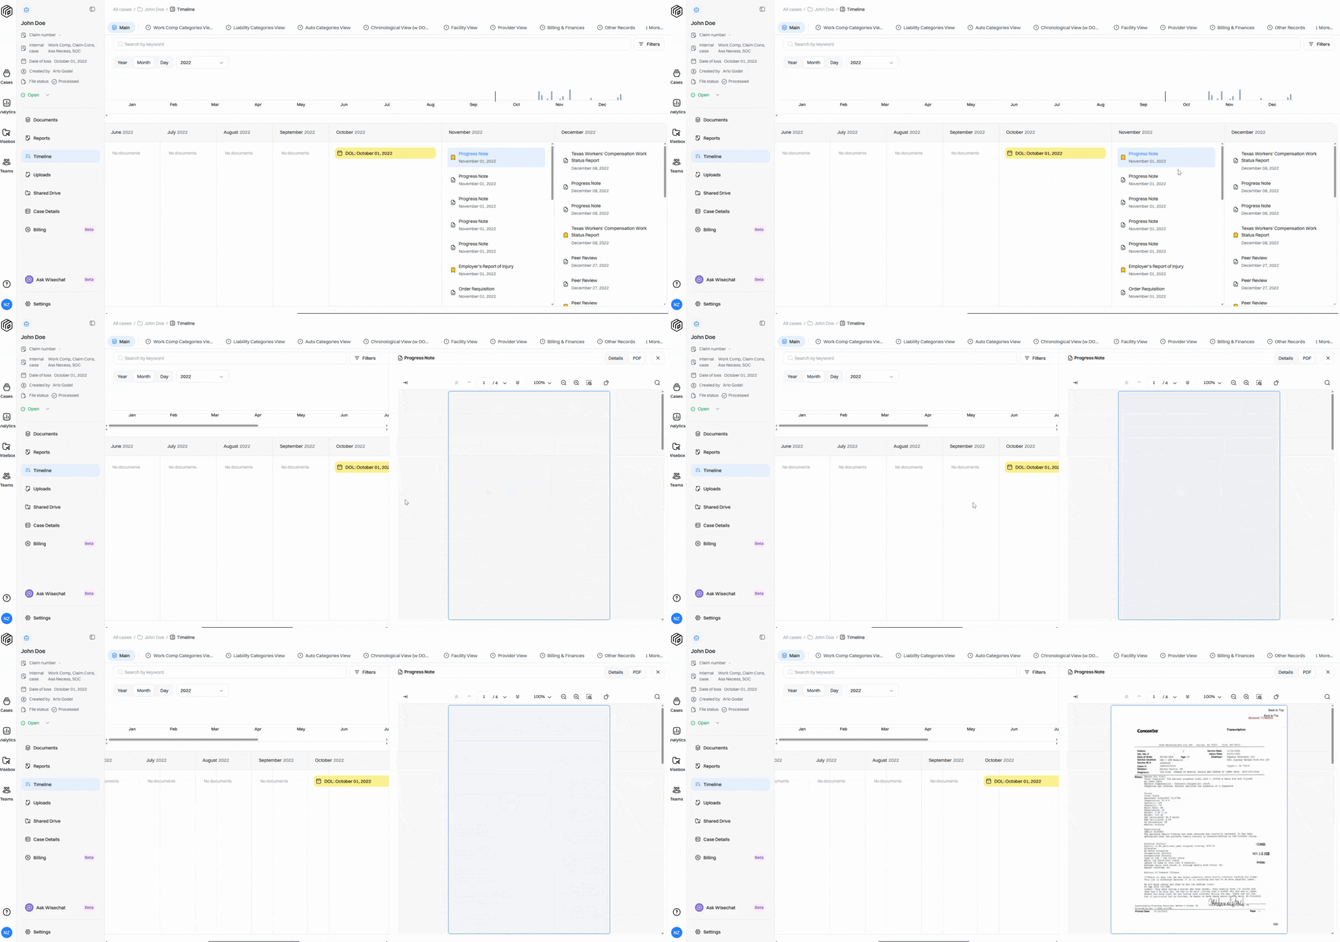
Step 7: Open Source Documents
Click any record to view the original source document in the PDF viewer.
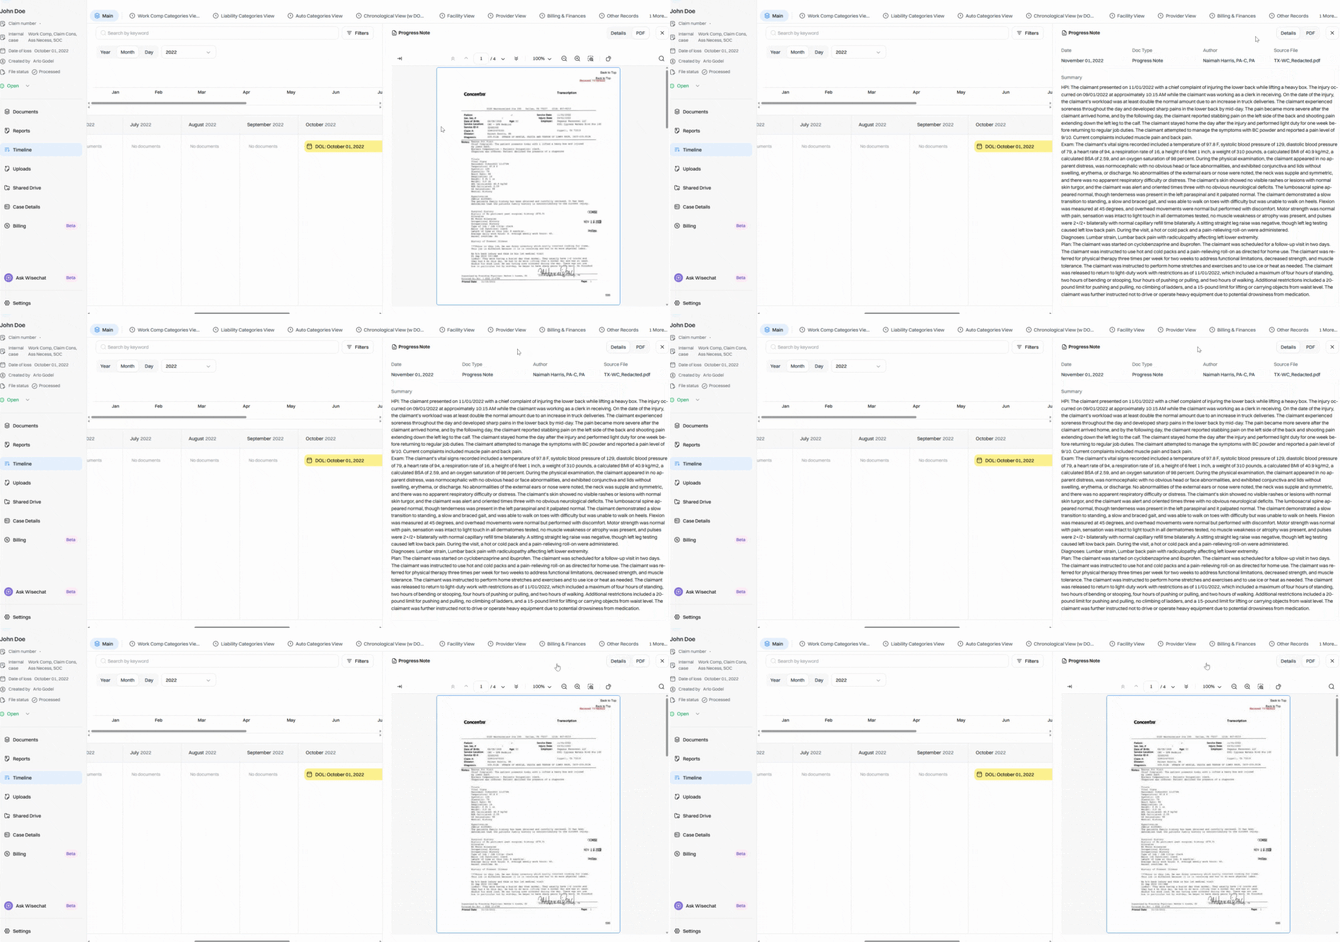
Step 8: Toggle Between Summary and PDF
Switch between the document summary and the original PDF document using the toggle options.
The Timeline streamlines medical record reviews by helping you identify gaps and inconsistencies, quickly understand the complete case history, and work more efficiently from start to finish.